From planning to finish, what you need to know about flat-pack kitchens
Words: Lachlan Jones
Photos: Adam Croy and Gary Hatfield
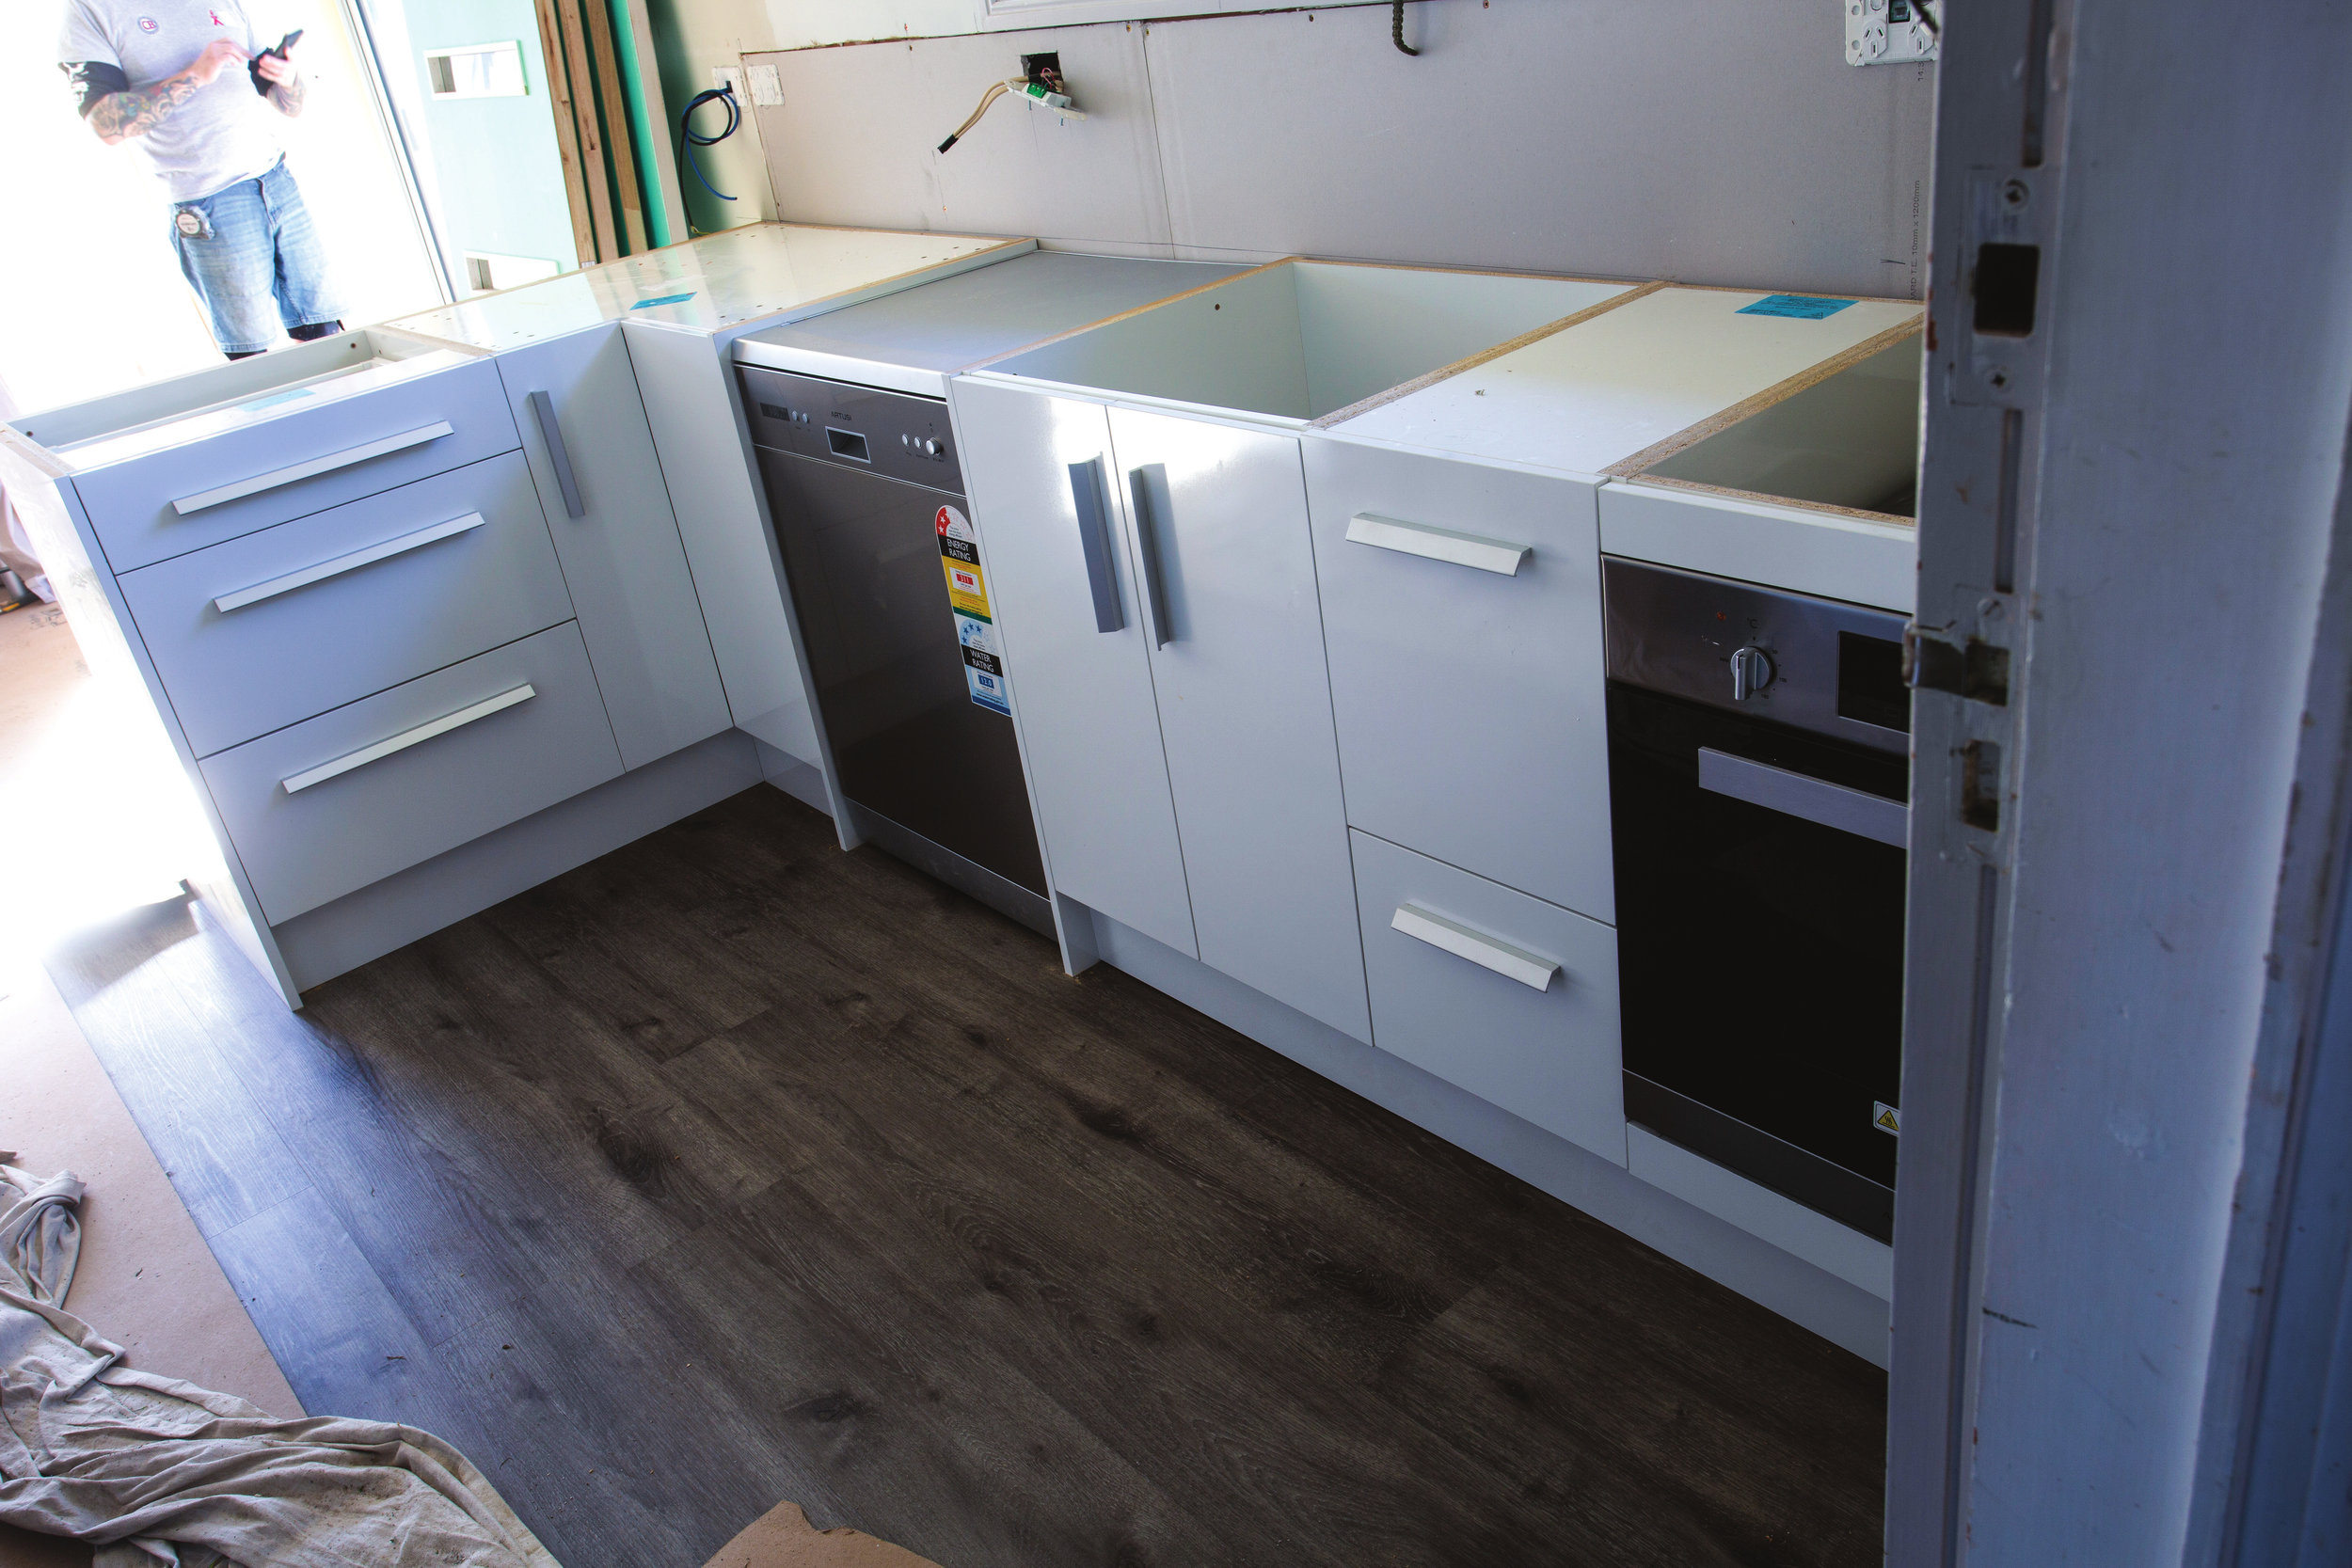
Our completed, installed flat-pack kitchen, just waiting for the bench top to finish off the job
Kitchens are the heart of a house, the control room around which everything revolves and a room that gets a lot of use, more so than any other. It’s also a workplace where meals are prepared and often consumed. It’s a hard traffic area that sees a lot of action. Kitchen styles are constantly changing and traditionally there has been a trade- off between functionality and design within a set budget. How do you integrate oven, hob, fridge, sink, pantry, and all the implements that grow to fill the space available and still have the stylish environment you want? Flat-pack kitchens are a viable option in terms of cost and quality, as well as configuration, for every kitchen size and type.
What is a flat-pack kitchen?
Flat-pack kitchens are mass-produced modular kitchens that can fit a number of different-sized homes and kitchens within a range of budgets and tastes. The ‘ flat pack’ term comes from the fact that the kitchens are generally manufactured in bulk, then the required pieces are sent to be assembled and installed on-site by a builder; kitchen installer; or, in some confident cases, the homeowner/ sheddie. The flat-pack kitchen means a lot less mucking about on-site and is a uniform product that can be put together in no time (by someone with the patience and know-how).
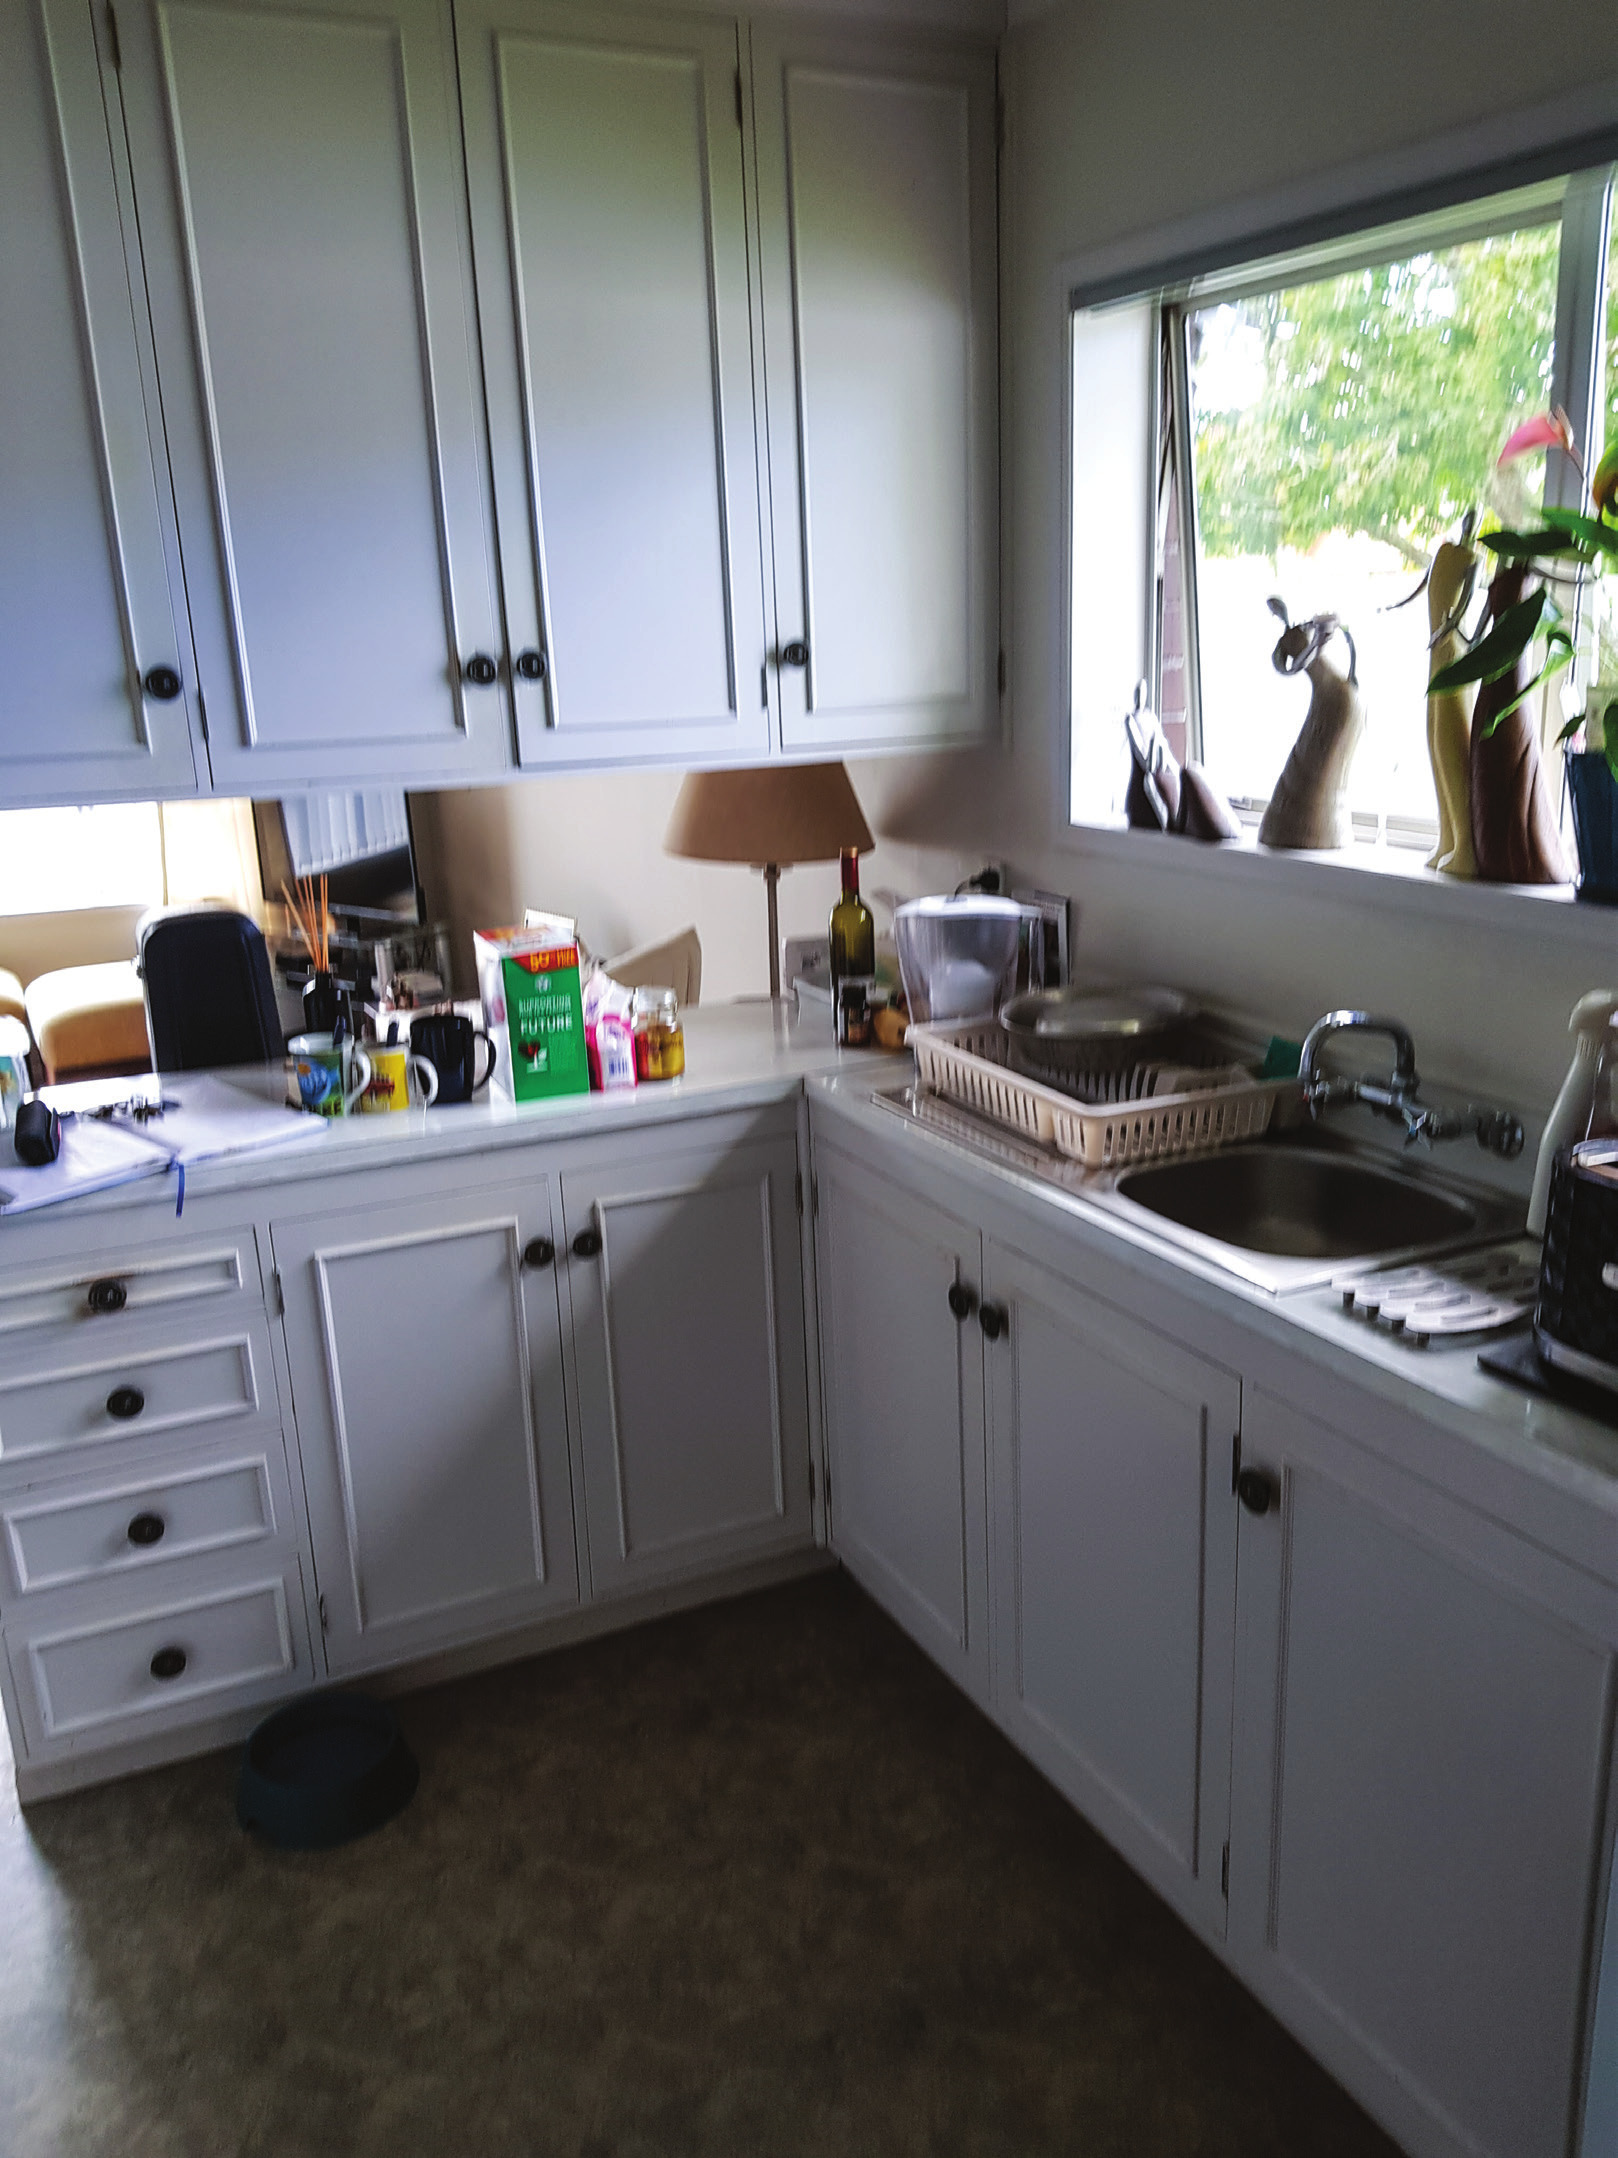


1: The old existing kitchen was dated and darkened by the ceiling-hung units.
2-3: Work begins on stripping the old kitchen. It pays to completely redecorate before the installation of the new kitchen
Flat-pack kitchens have made their mark on the Kiwi construction and renovation scene and are now a rm favourite, having bypassed their previous cheap-and-cheerful reputation. They now offer better quality, plenty of options, and more palatable pricing than ever before.
The kitchen used in this project is from New Zealand kitchen manufacturer Peter Hay Kitchens (peterhay.co.nz). Once our homeowners had chosen the components off the shelf, so to speak, the at packs were delivered on-site to be installed by Gary Hat eld from Home Skills. The at-pack kitchen components have all that a purchaser could want in terms of size and shape — even components for filling in that awkward small leftover gap that you have no idea what to do with. There is a jigsaw-puzzle piece available to complete any space.
1-2: The cabinetry for this install was assembled on-site, but sometimes off-site is a good option.
The project — the old kitchen
The old kitchen was dark and rather worn out. As the main route into the house, there was a feeling of being disjointed from the rest of the house. There was a lack of any ow into the living room as a high unit above the bench blocked the kitchen from the living room. The decor was a bit dated, too. The owners had embarked on a project to renovate the entire home, from the bathroom to the bedrooms, including new lighting, new floors, new carpeting throughout, as well as the updated kitchen. This included all new appliances, which meant that the home owners were able to start from scratch.
Demolition
While the cabinetry was being assembled for our project kitchen the demolition of the old kitchen was getting underway. Drawers and doors were removed first to allow the plumber to disconnect the taps to the sink and dishwasher. The electrician arrived shortly after to disconnect and make safe the connections for the oven, the hob, and the various power points. Then the appliances were removed and the benches and the rest of the kitchen cleared to make way for the plasterer who needed to repair the hole where the oven tower had stood and the ceiling where the floor to ceiling cupboard once stood. The old linoleum was lifted.
1: There are rules about space around electrical appliances. Failure to comply can void warranties.
Design
Kitchen installer Gary visited the owners of the home and spent some time with them measuring up the space and discussing their requirements. At this early stage it’s very useful to know what appliances will be needed and it’s important to have the actual dimensions. There are regulations and manufacturers’ specifications around the placement of refrigerators. Failure to accommodate them can lead to failure of the appliance and a voided warranty. Fridges need space to circulate air or they will overheat.
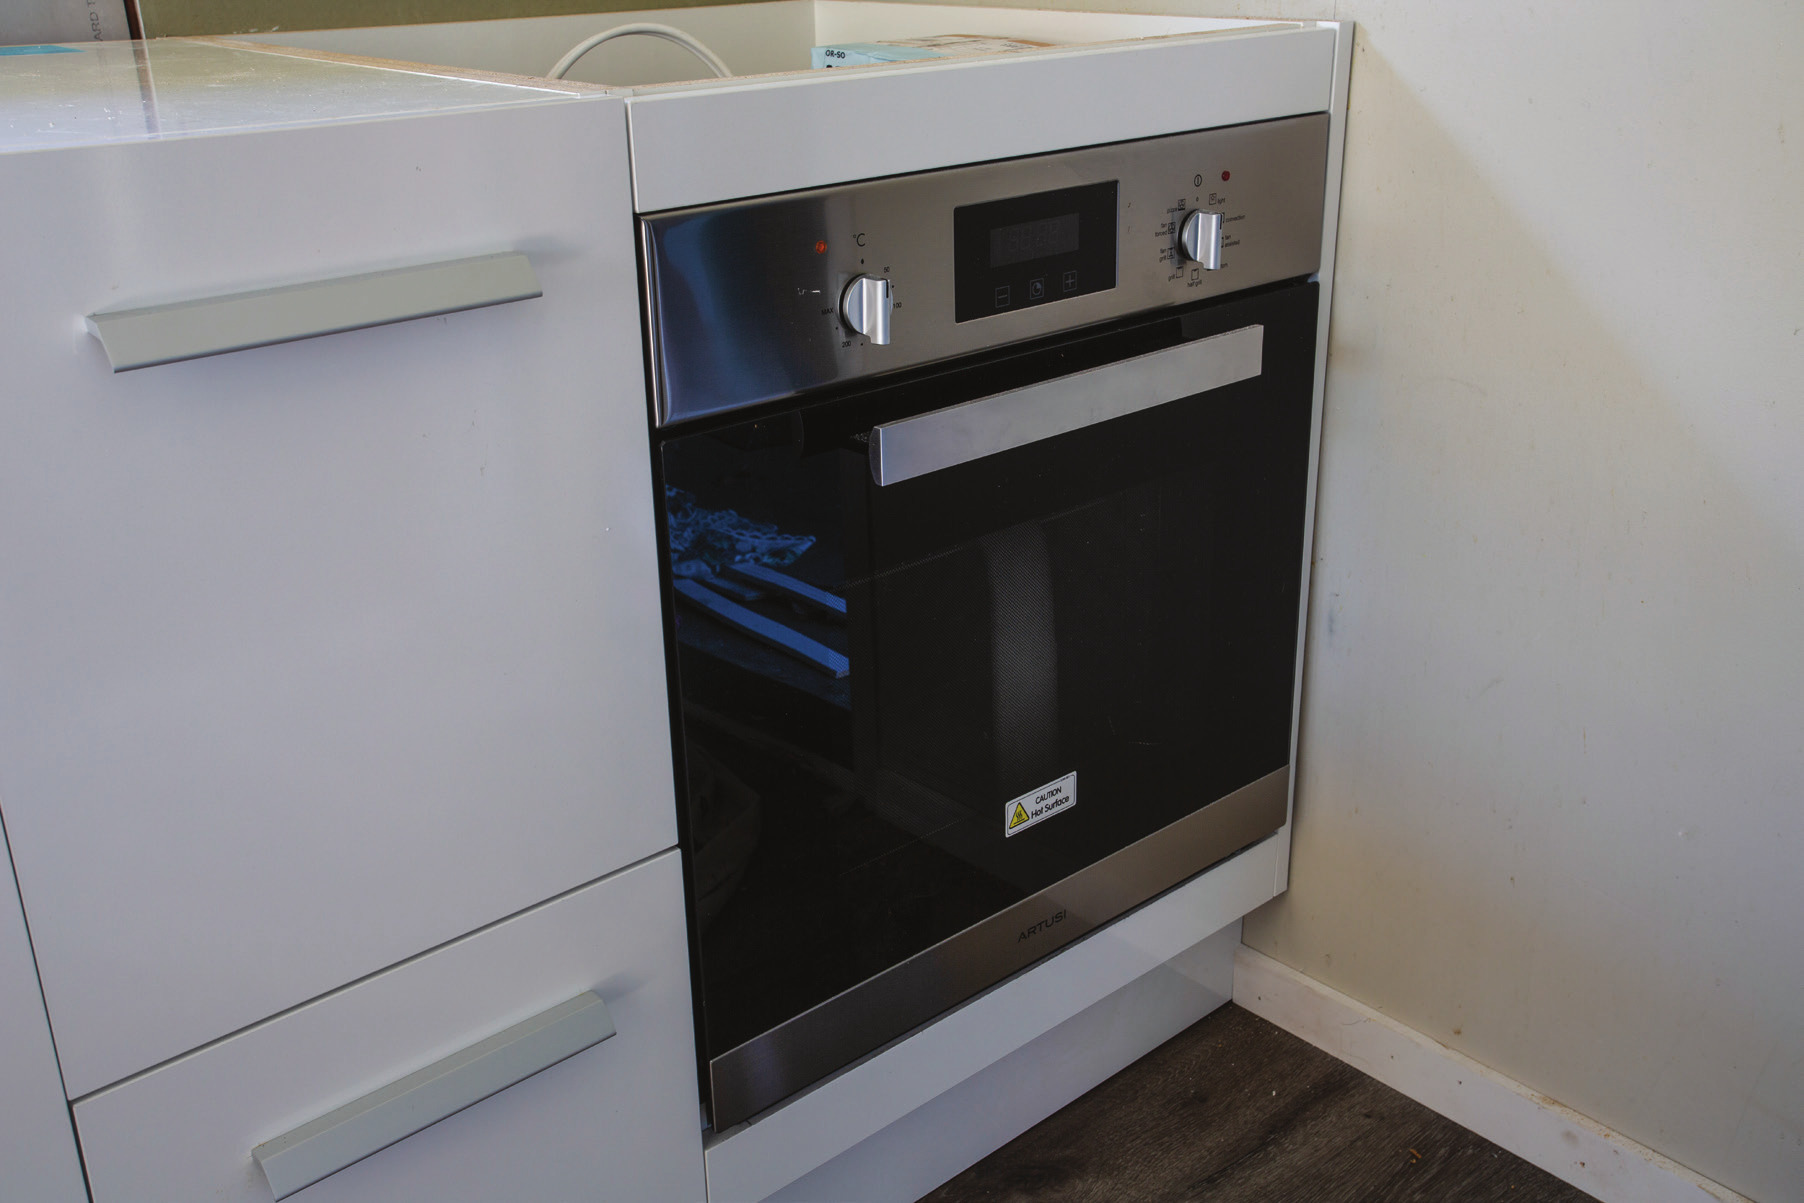
Ovens too require some thought over placement. Where ovens are in a tall unit with the oven at bench level, there is a regulation about how far the oven has to be off the ground.
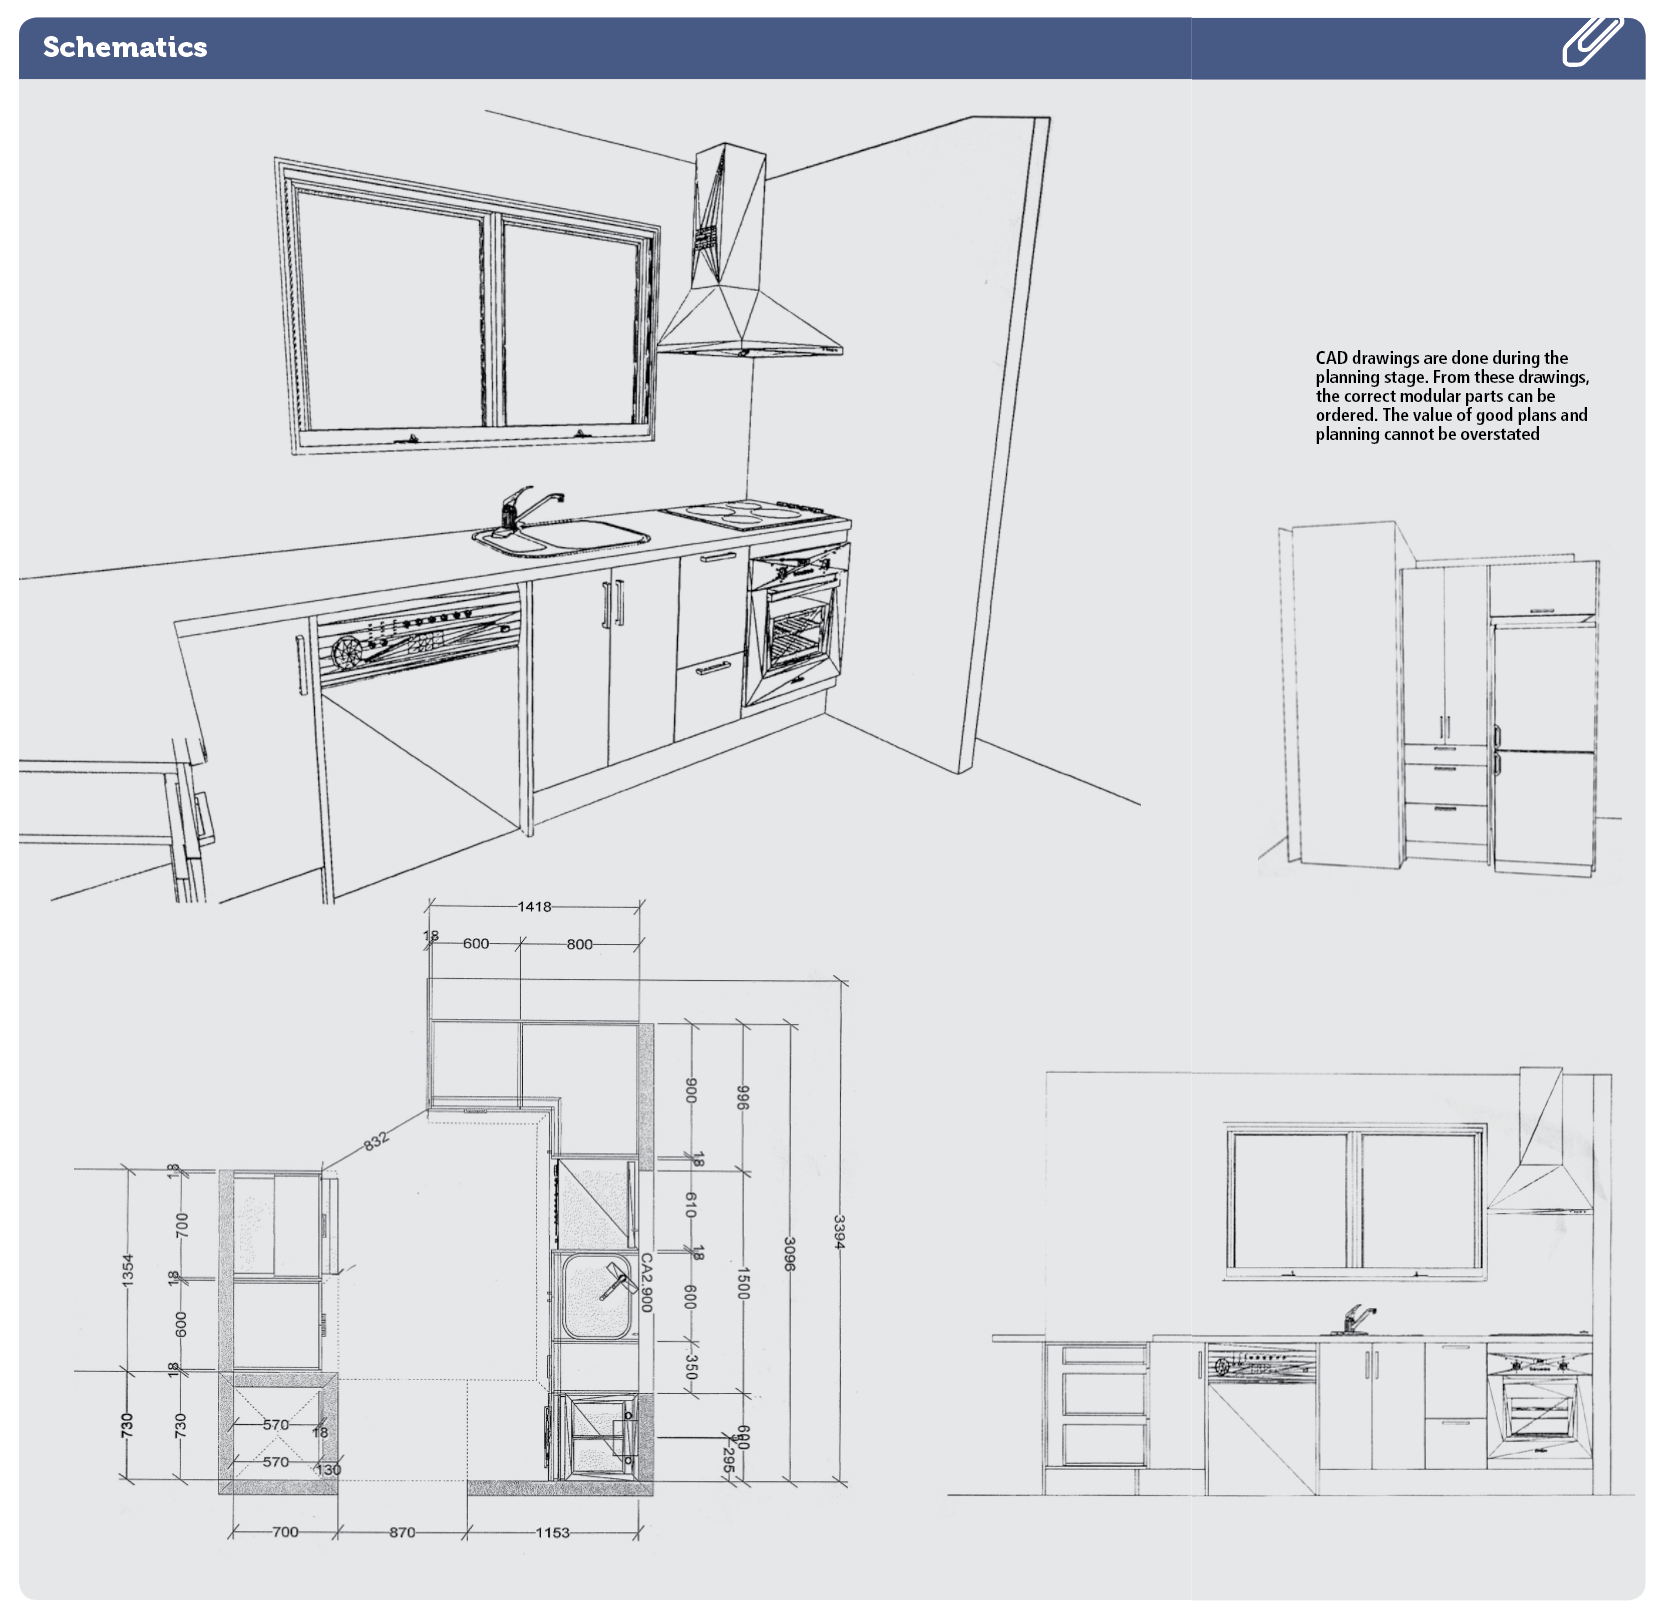
Once the plan is finalised the kitchen designer/cabinetmaker will draw a floor plan and elevation which will show where all the cupboards, appliances and benchtops will go. This is then translated into a computerised drawing that generates a 3D drawing so the clients can visualise what they have planned. At this stage final details can be decided on and modifications made. From this plan a fixed price is negotiated. Once the homeowners are happy with the concept drawings and pricing, a deposit is paid and the manufacturing begins.
Computer-aided
Most kitchen manufacturing is undertaken in large factories by computer-aided manufacturing. Computer-controlled machines cut, shape and pre-drill the parts to be assembled later. This makes the turnaround faster and the production far cheaper overall.
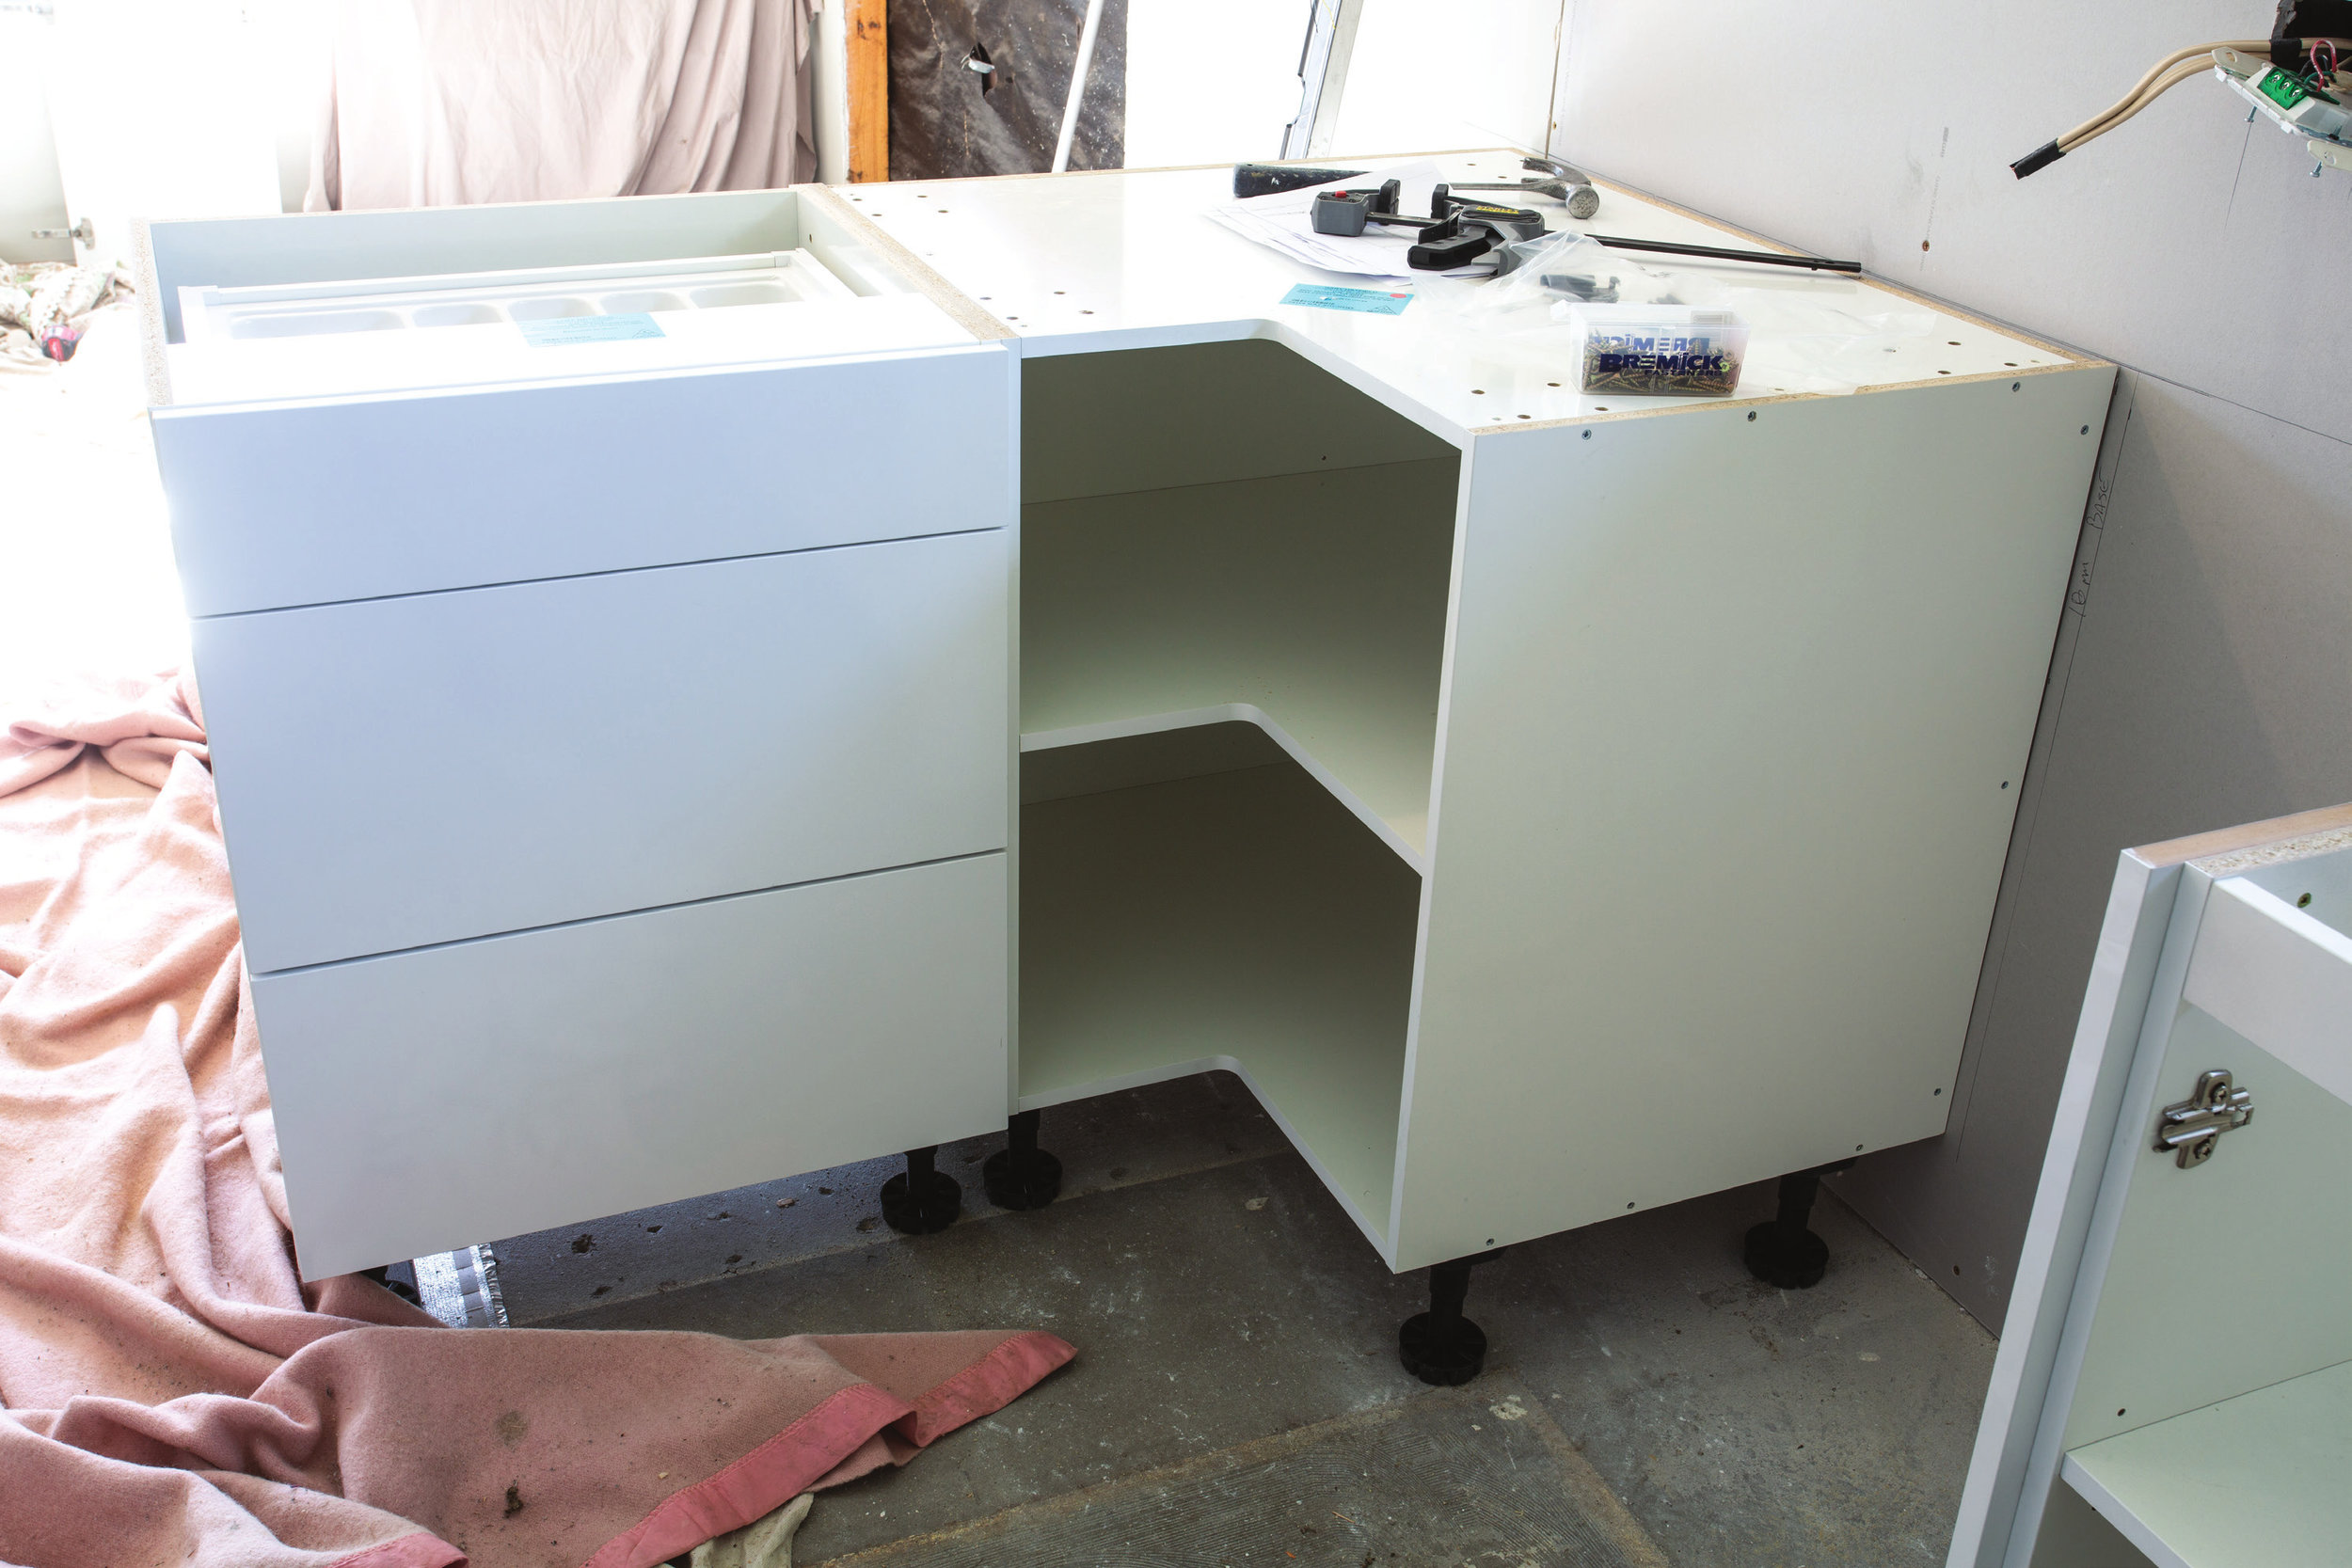
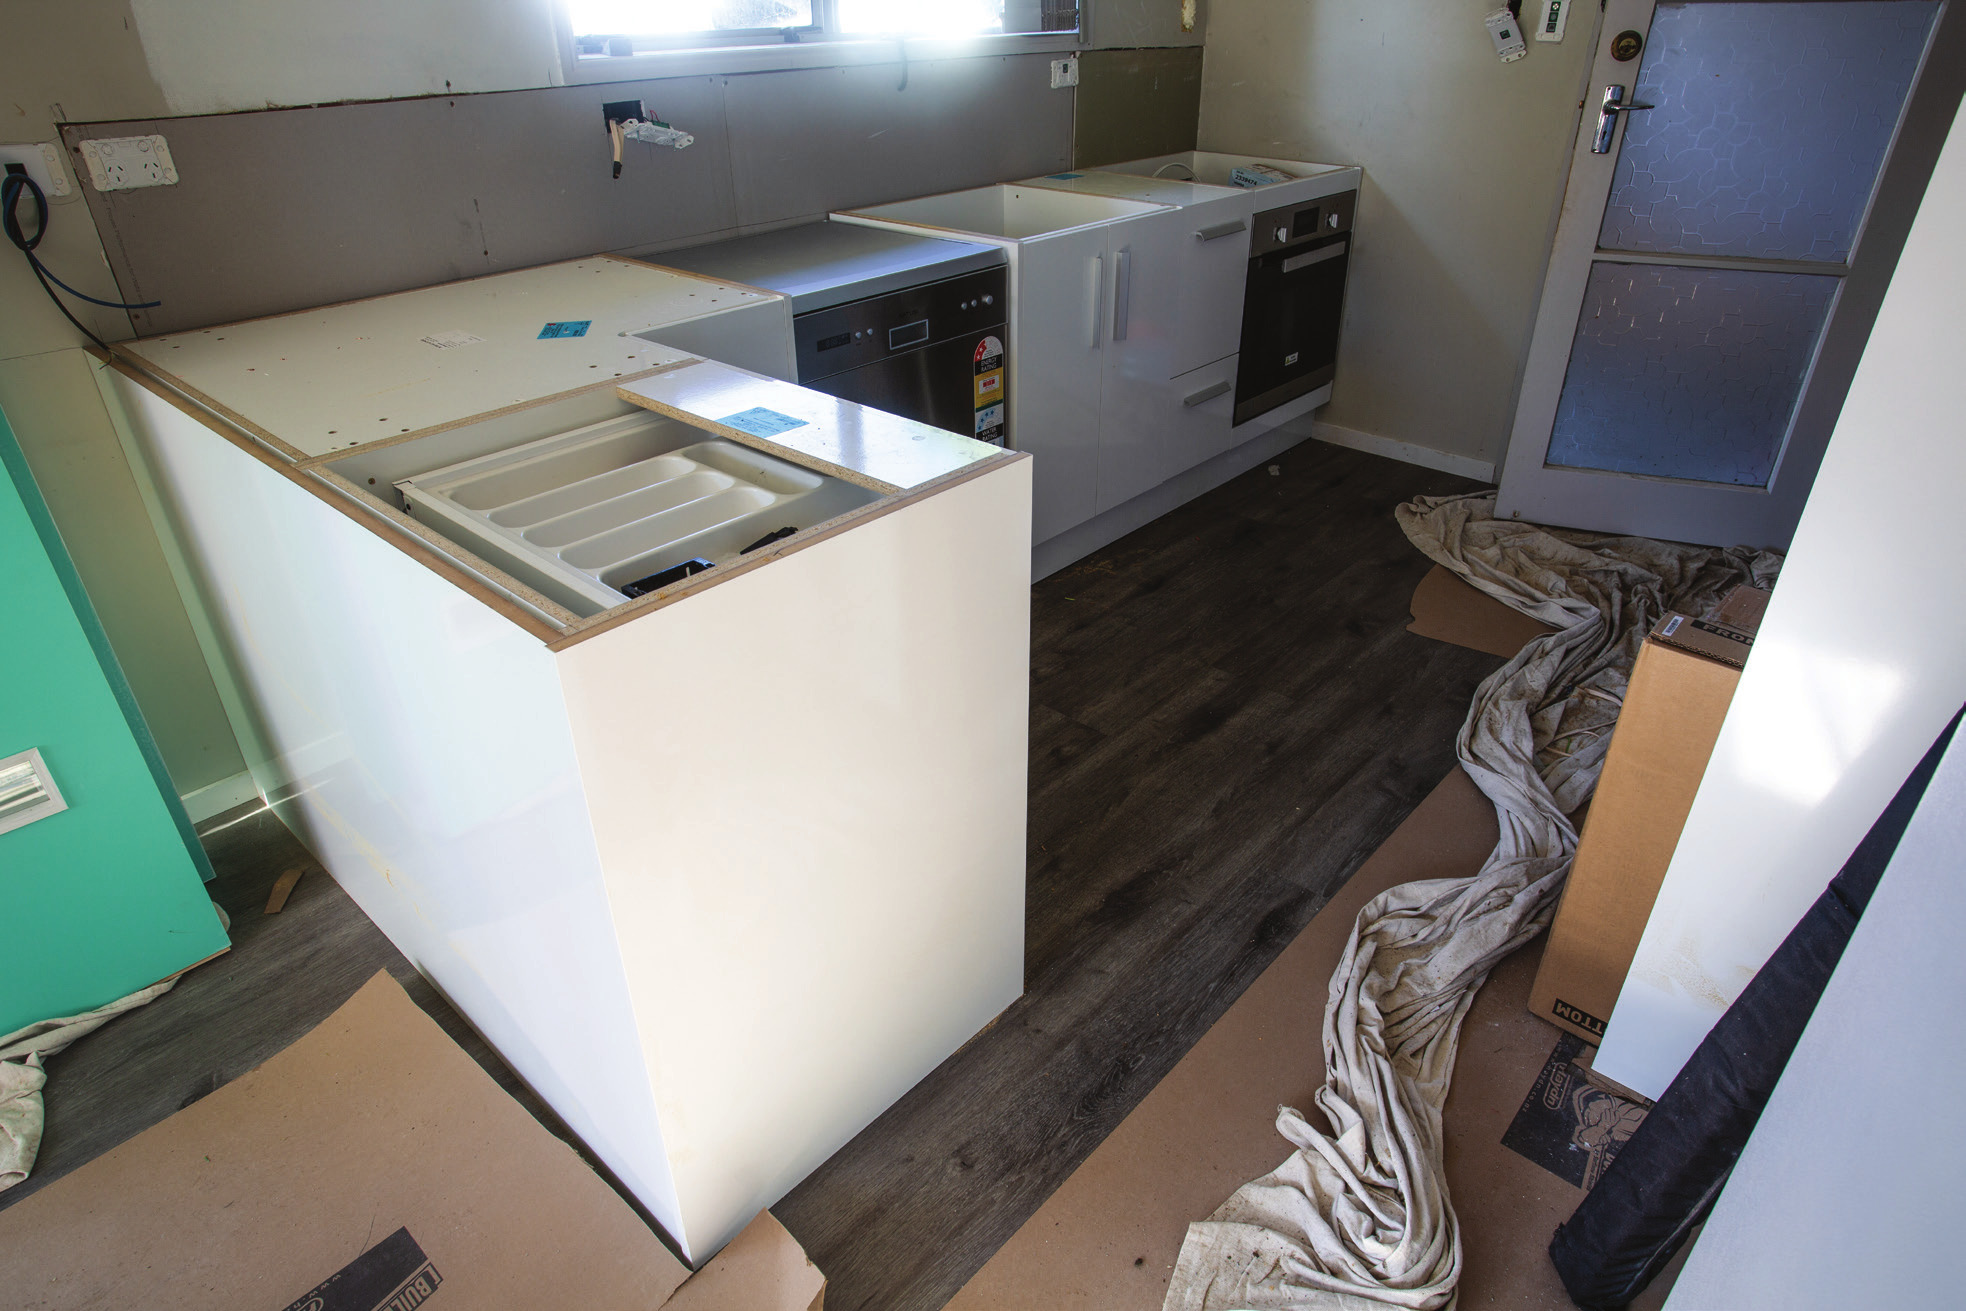
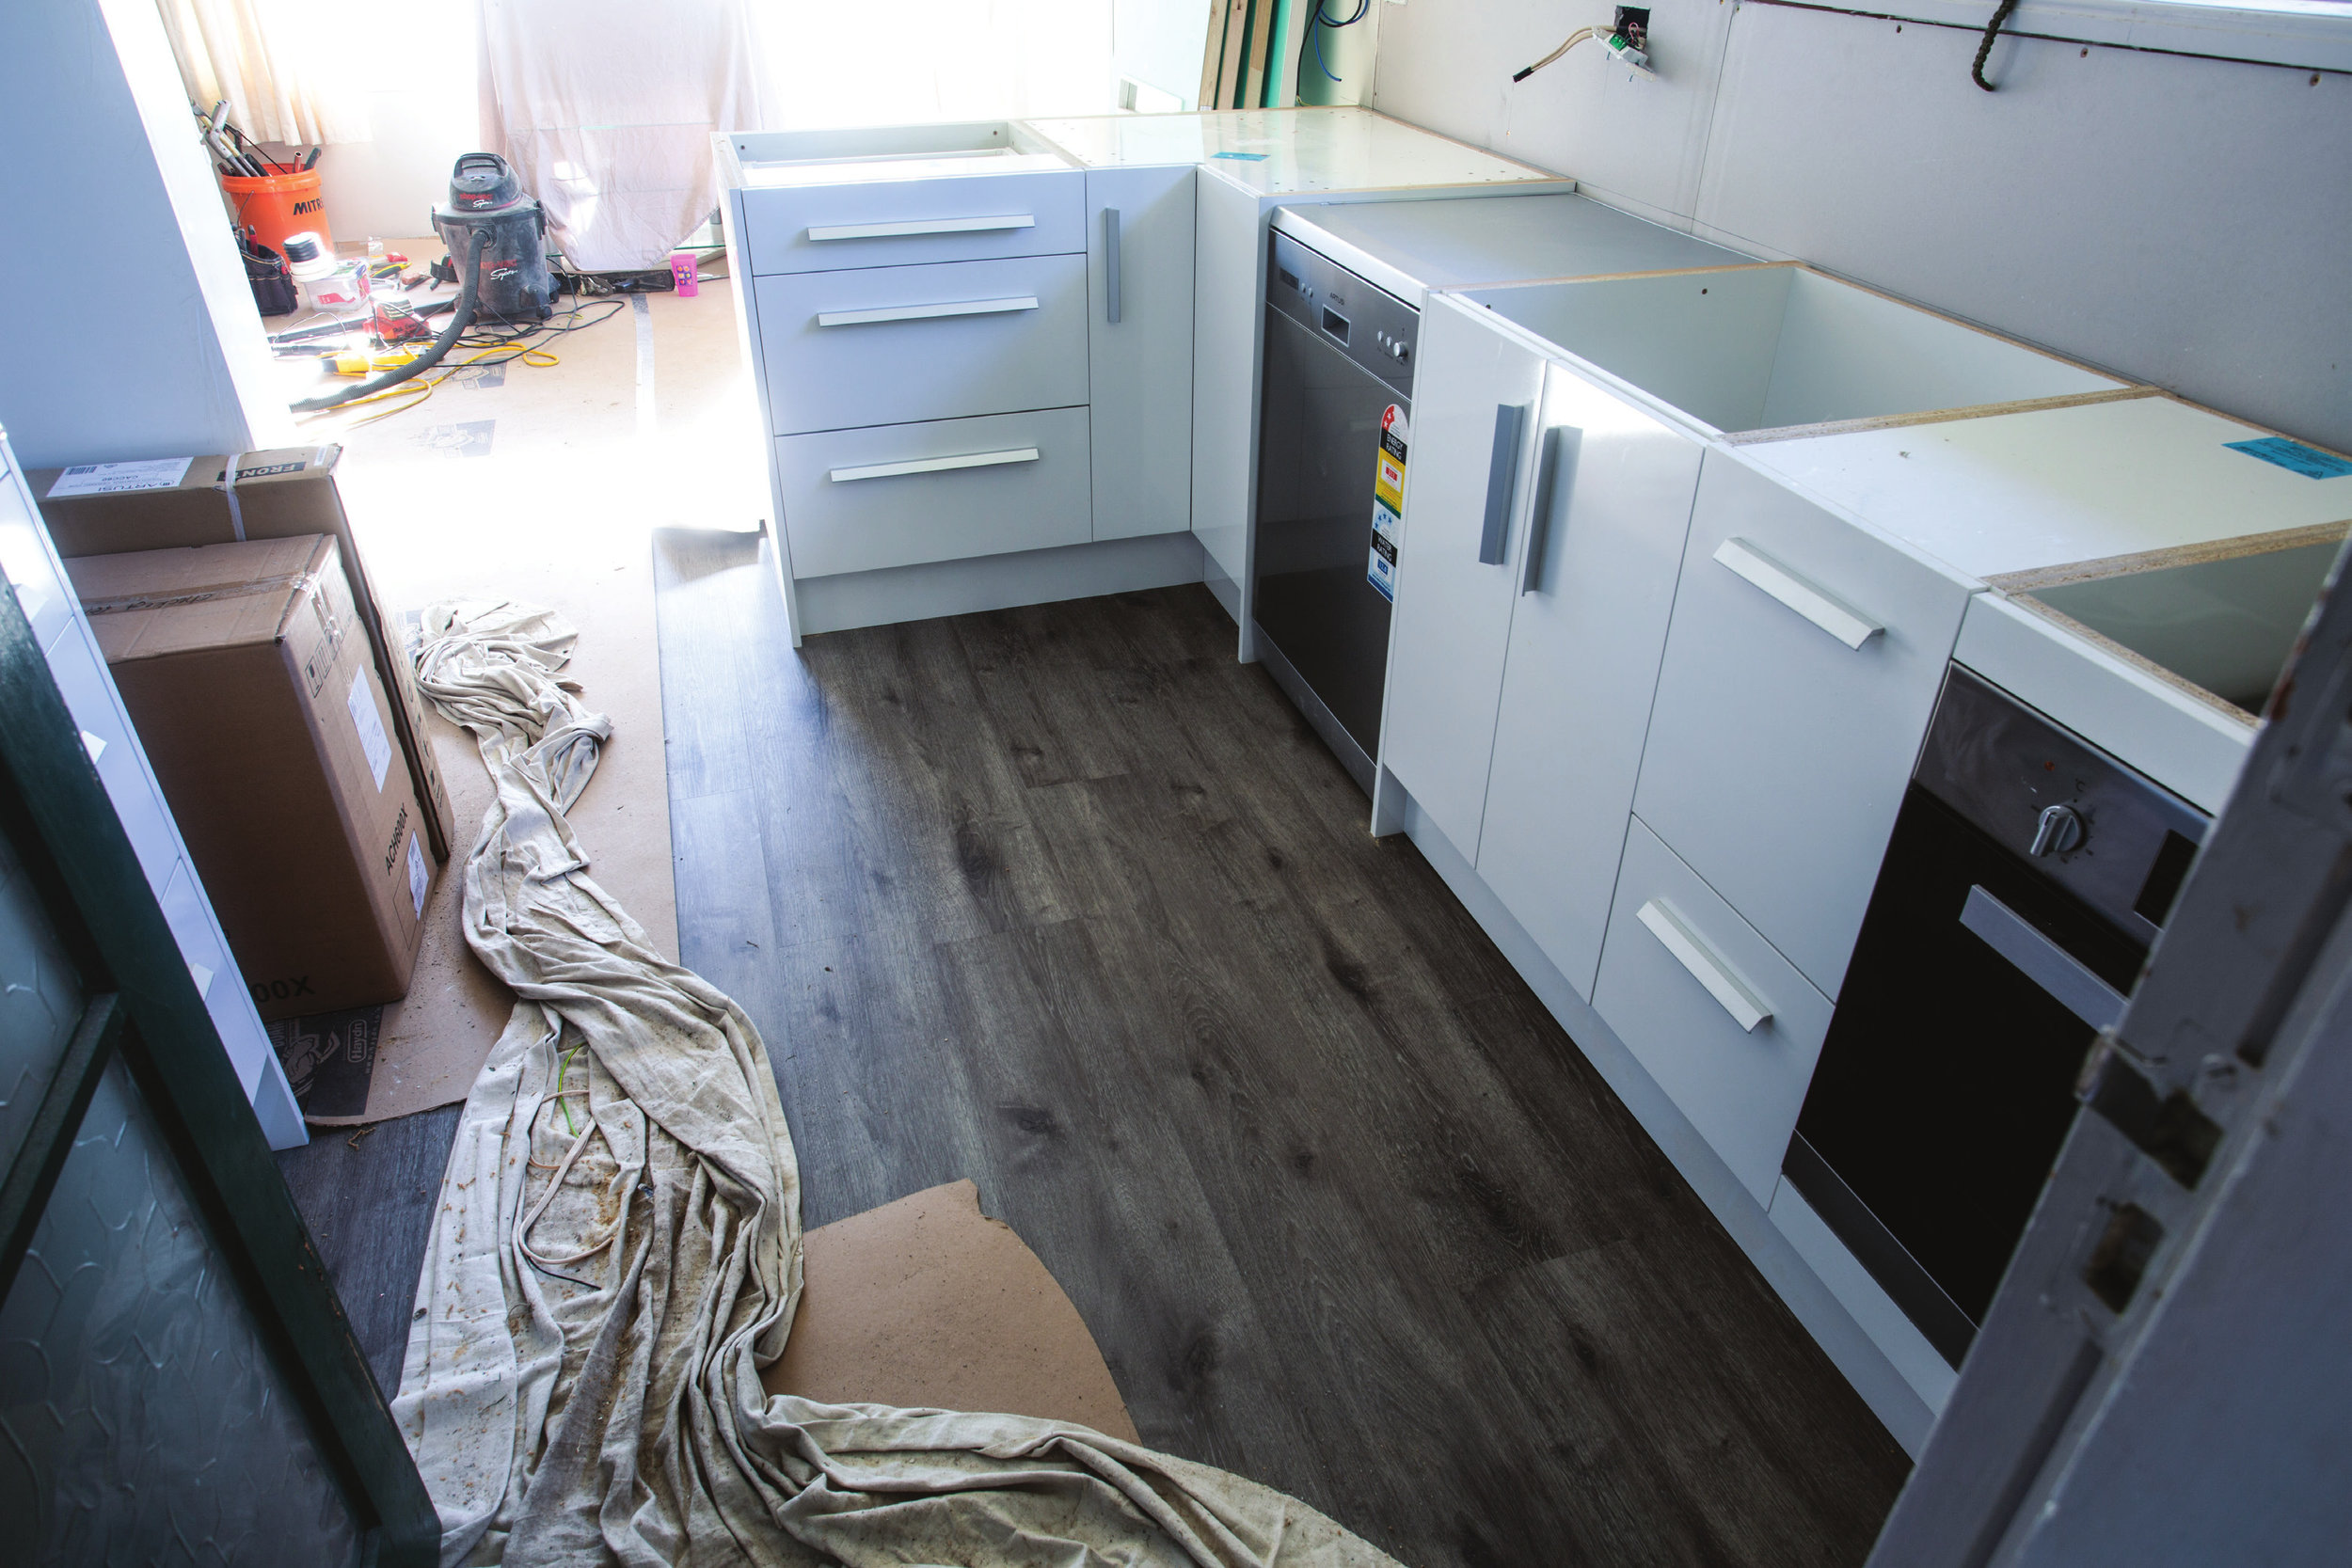
If the kitchen is well-planned and co-ordinated with the other trades, the standard time for completion is around a week. Once the kitchen cabinetry is installed then flooring and splashback templating can occur. Once the kitchen is cut and edged it must be assembled into its component units. This can be done on site but it is often better for the joiner or cabinet maker to do so off-site and then deliver the units ready built. It’s also a chance to check that the parts are correct and will join together as they should.
At the same time as the sides, doors, and drawers are being made, the chosen benchtop is being created in another factory. As we all know, particularly in older properties, very few walls are square. Over time walls can move and shift out of plumb. So benchtops are always ordered larger than required. This is to allow the installer the chance to scribe the bench to fit the variations in the wall. Often the wall can undulate very slightly but just enough to be obvious when you put a large, straight edge like a bench against it. It’s those unsightly gaps that the scribing corrects.
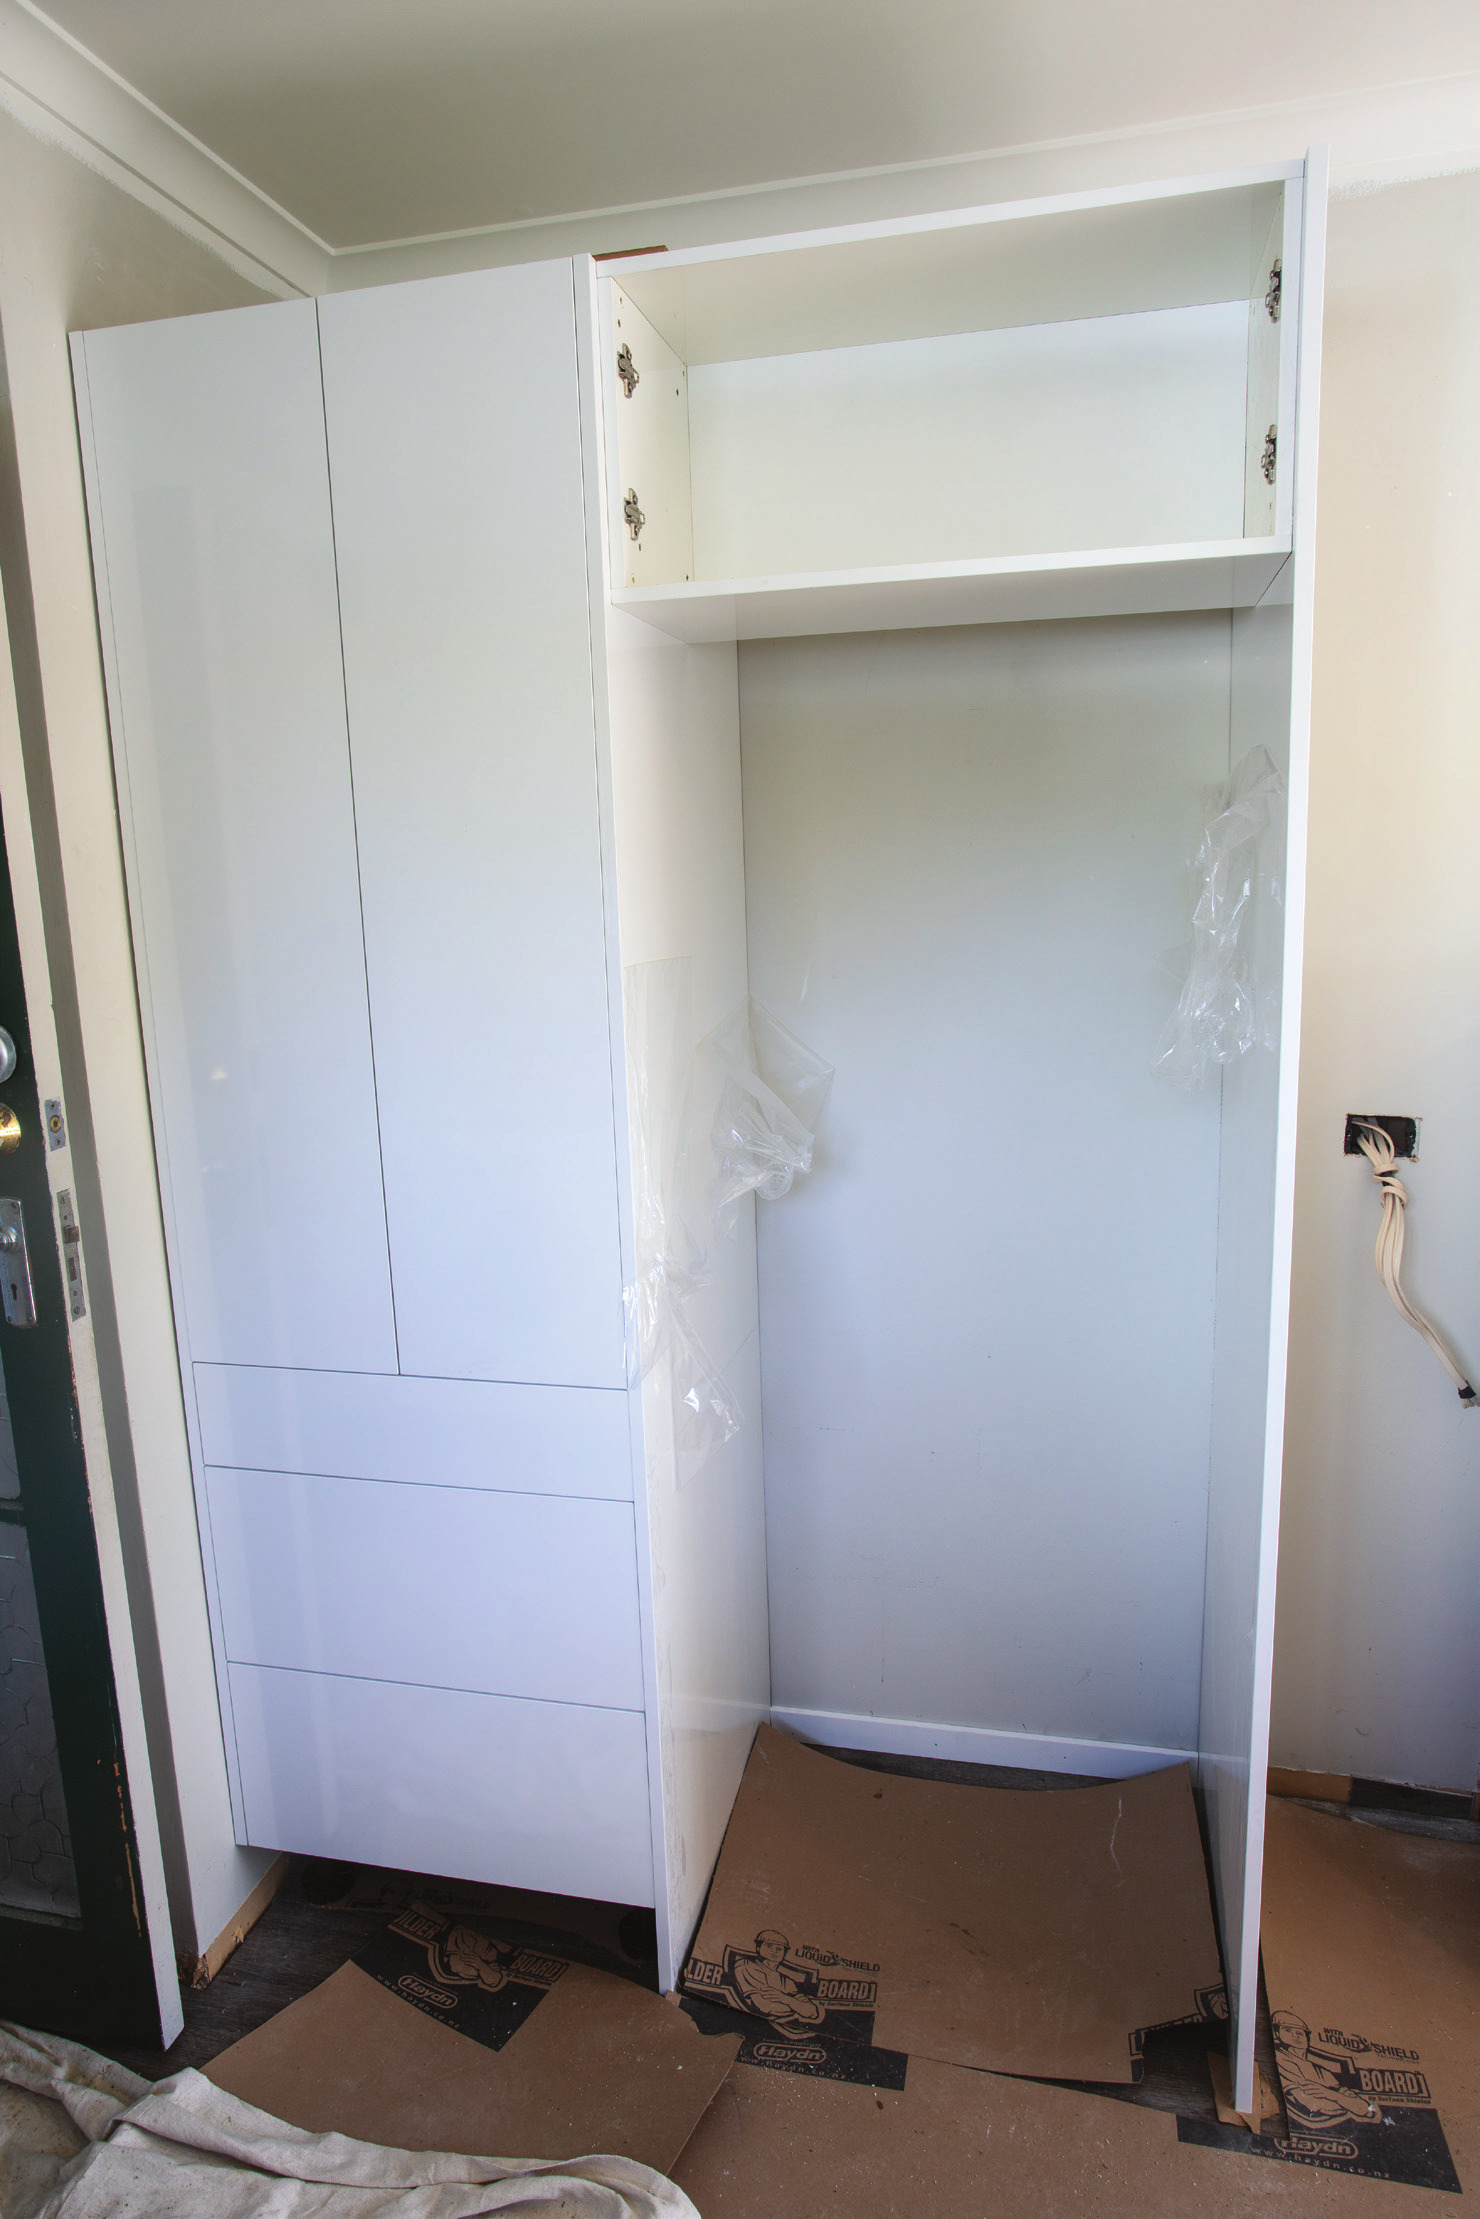
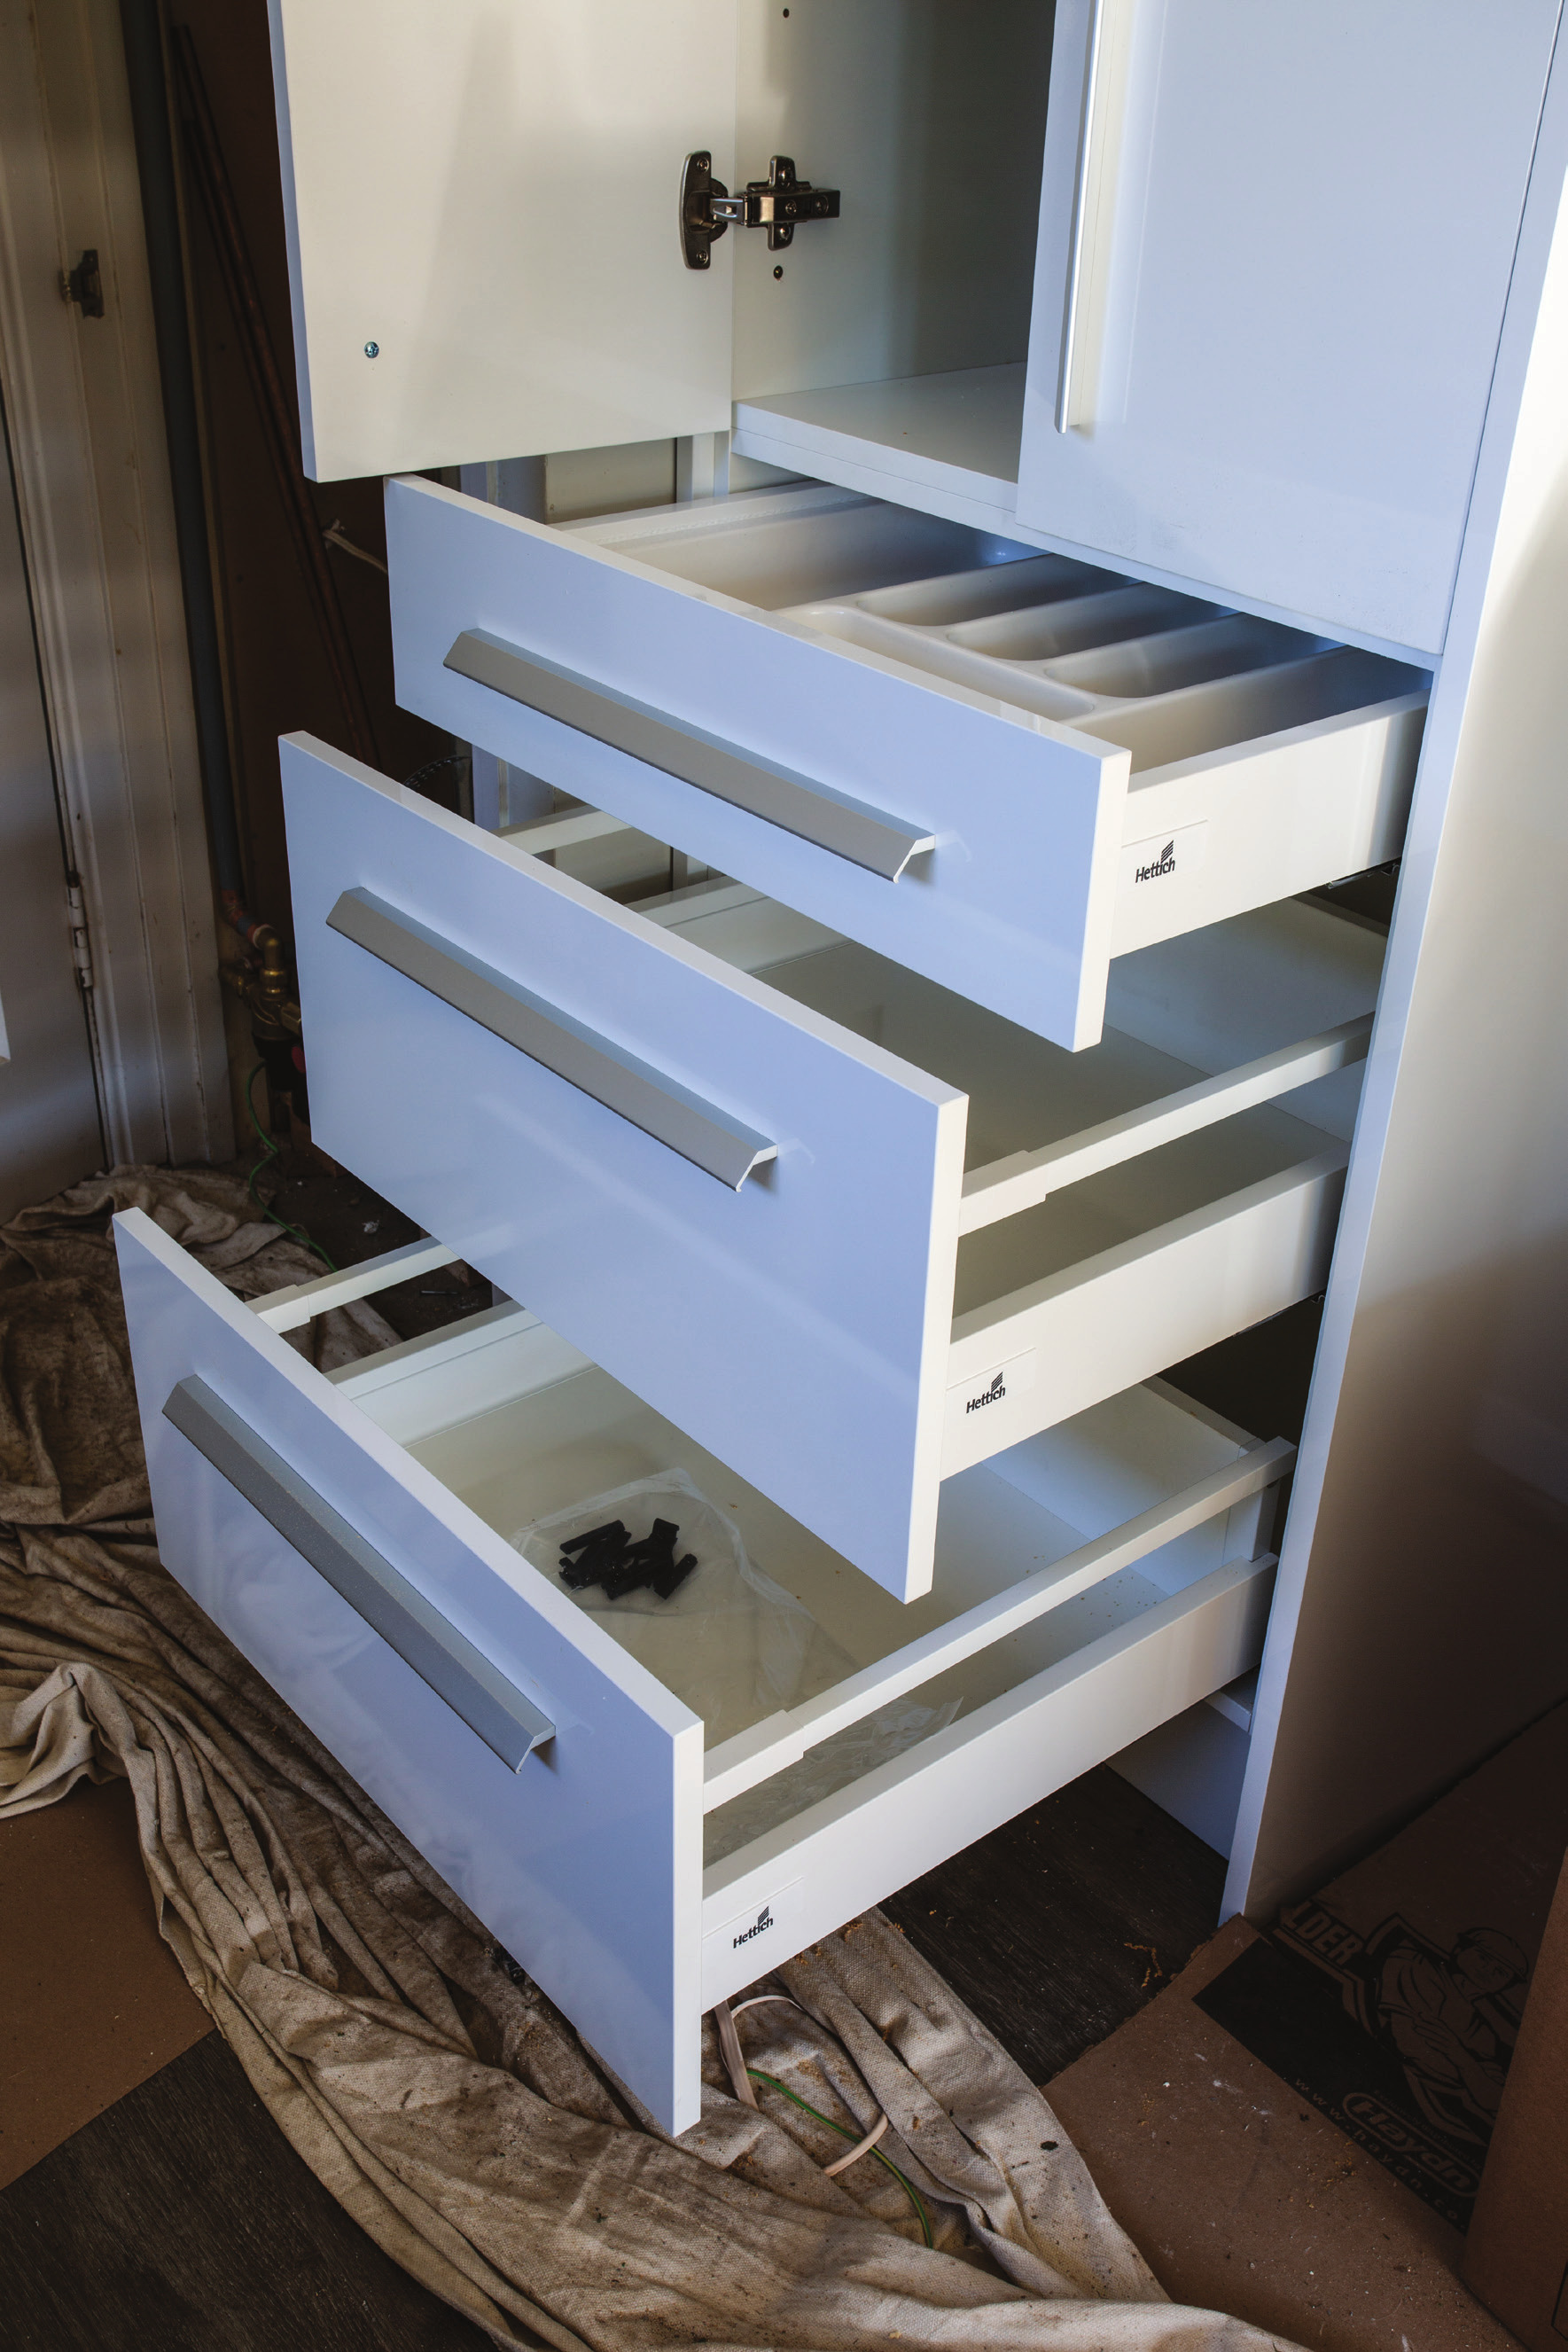
1: Maximising storage space is key when renovating a kitchen
Materials
Most kitchens are constructed from MDF with a veneer covering, frequently a pressure-laminated covering like melamine, which goes by a number of different brand names. During the 1980s and 1990s, it was common to see kitchens constructed from particle board. You can still get kitchens manufactured in this material at the low end of the market. It has a number of drawbacks, principally that the material lacks density and that means it has less holding power for screws and other components.
You can often see older kitchens where the doors, hinges and all, have parted from the cabinets. This is usually due to the particle-board cores. MDF is denser and now comes in a moisture-resistant version especially useful for kitchens. It needs to be specified when ordering the kitchen.
Cabinets
Cabinet joinery, especially what you don’t see, is important. A cupboard or cabinet made from a light material might need to have a batten across the back for support. When there is a solid back, you can screw it wherever you like. The installer putting in the kitchen need not stress out about where the nogs are. They can fix the cabinet anywhere and into anything because they are not restricted by a thin 3mm-6mm MDF back. If you screw through a thin back, it bows and your cabinet can pull away from the wall, so you need to put extra support in, or extra nogs
The likes of Peter Hay Kitchens offer bespoke cabinets for corners, small areas, and skinny recesses. Benches and cabinets can be sprayed with lacquer. Generally for kitchen use, paints will have to be two-pot lacquers or epoxy-based, and this is sprayed directly over a moisture-resistant MDF substrate.
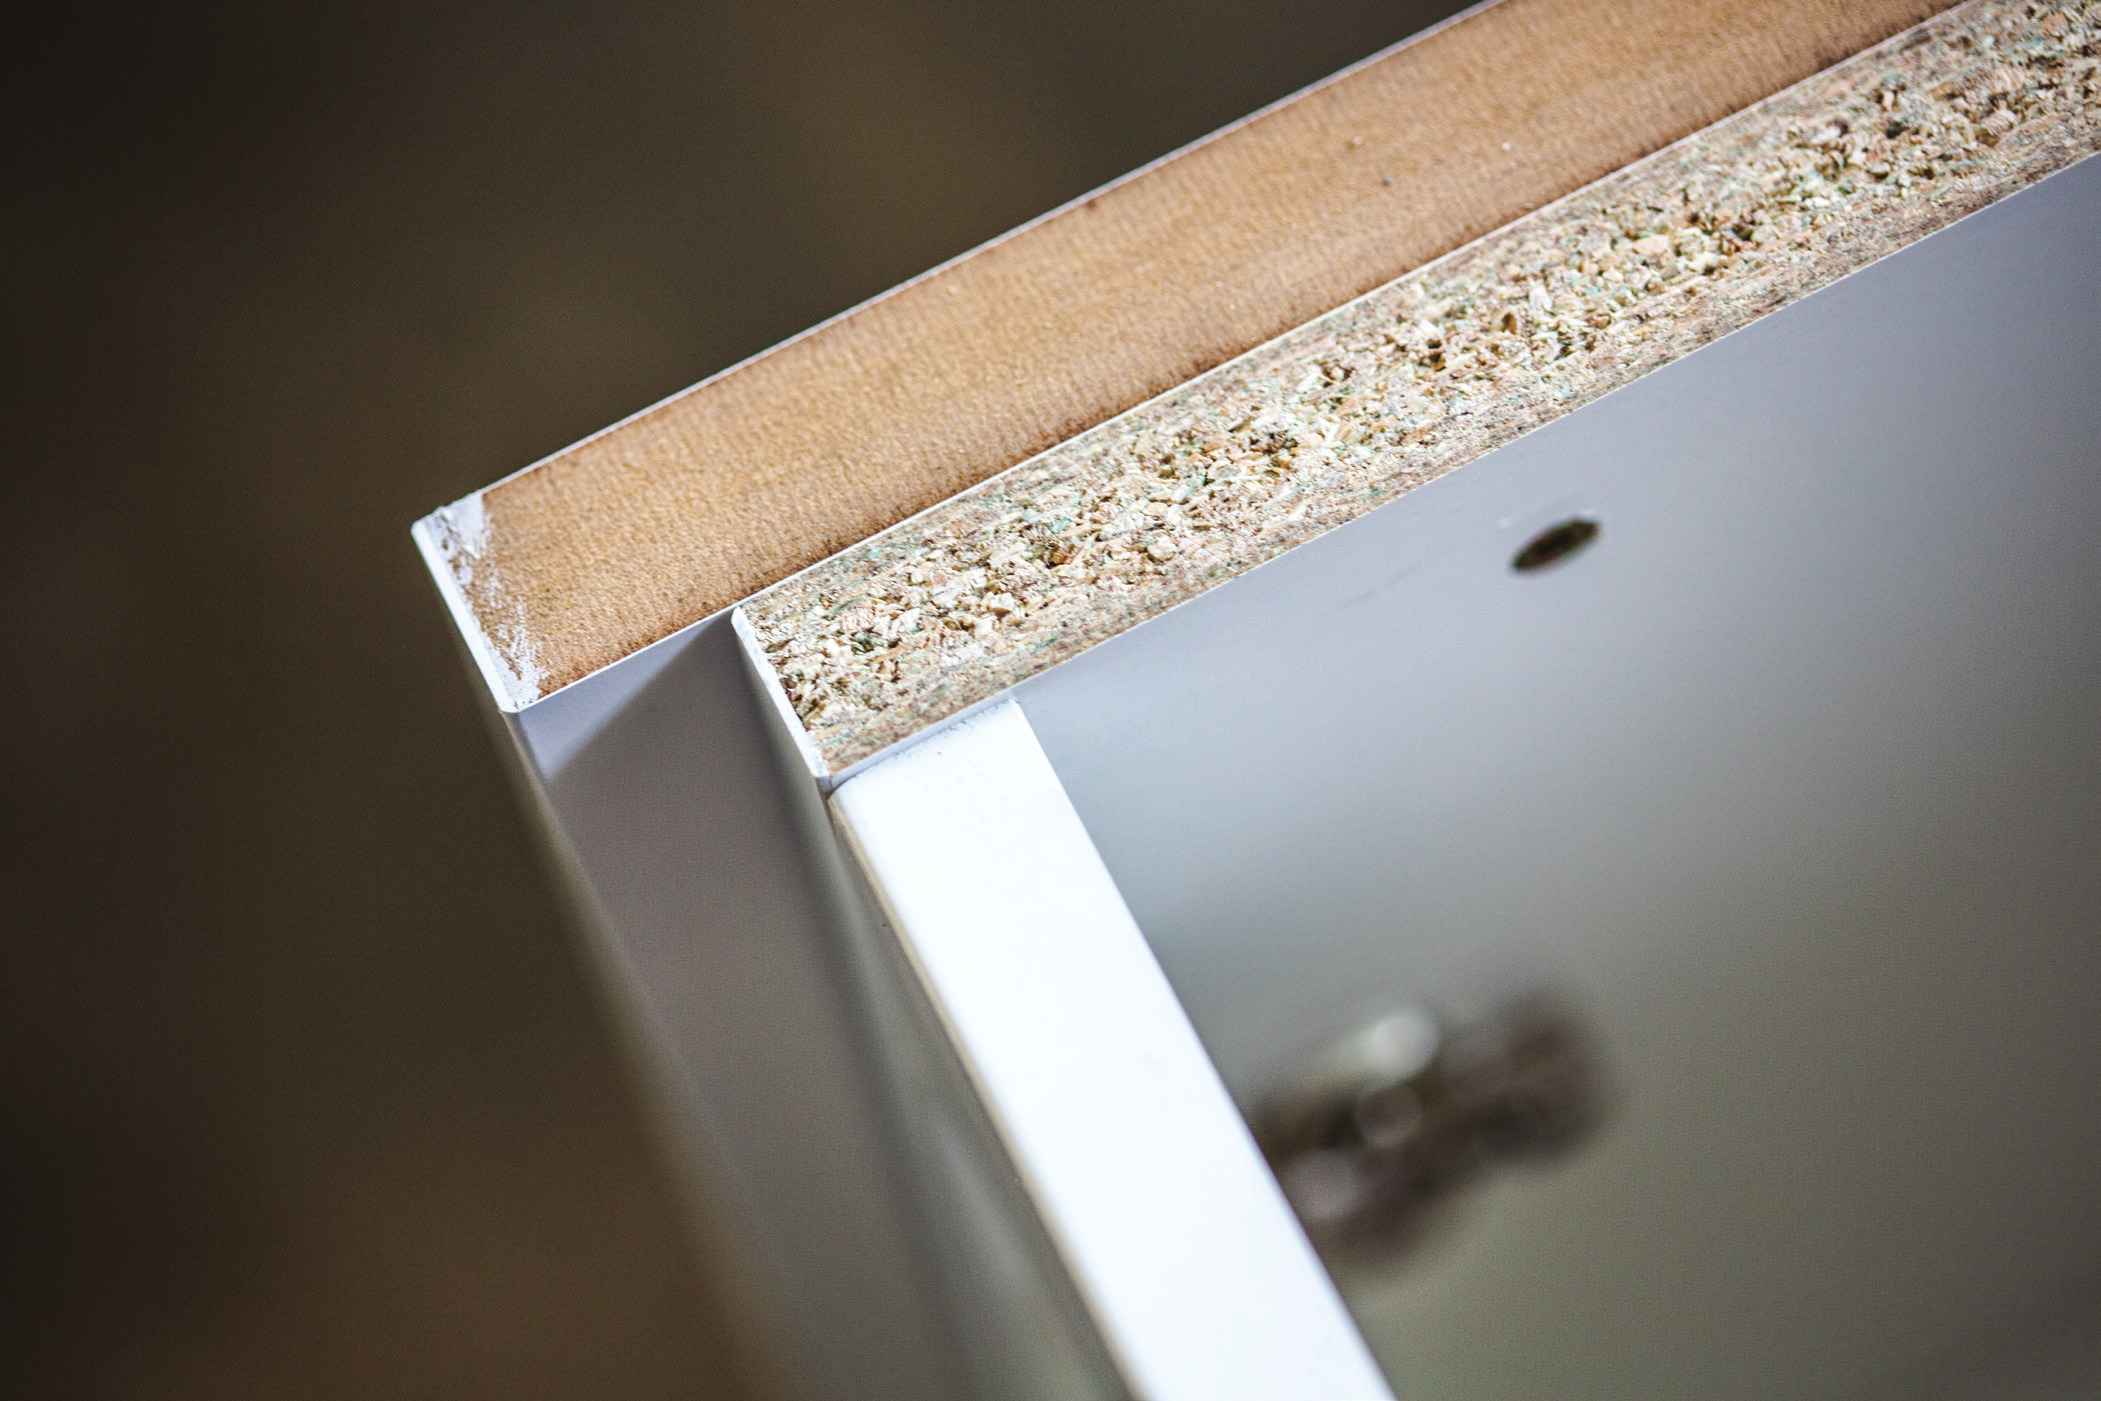
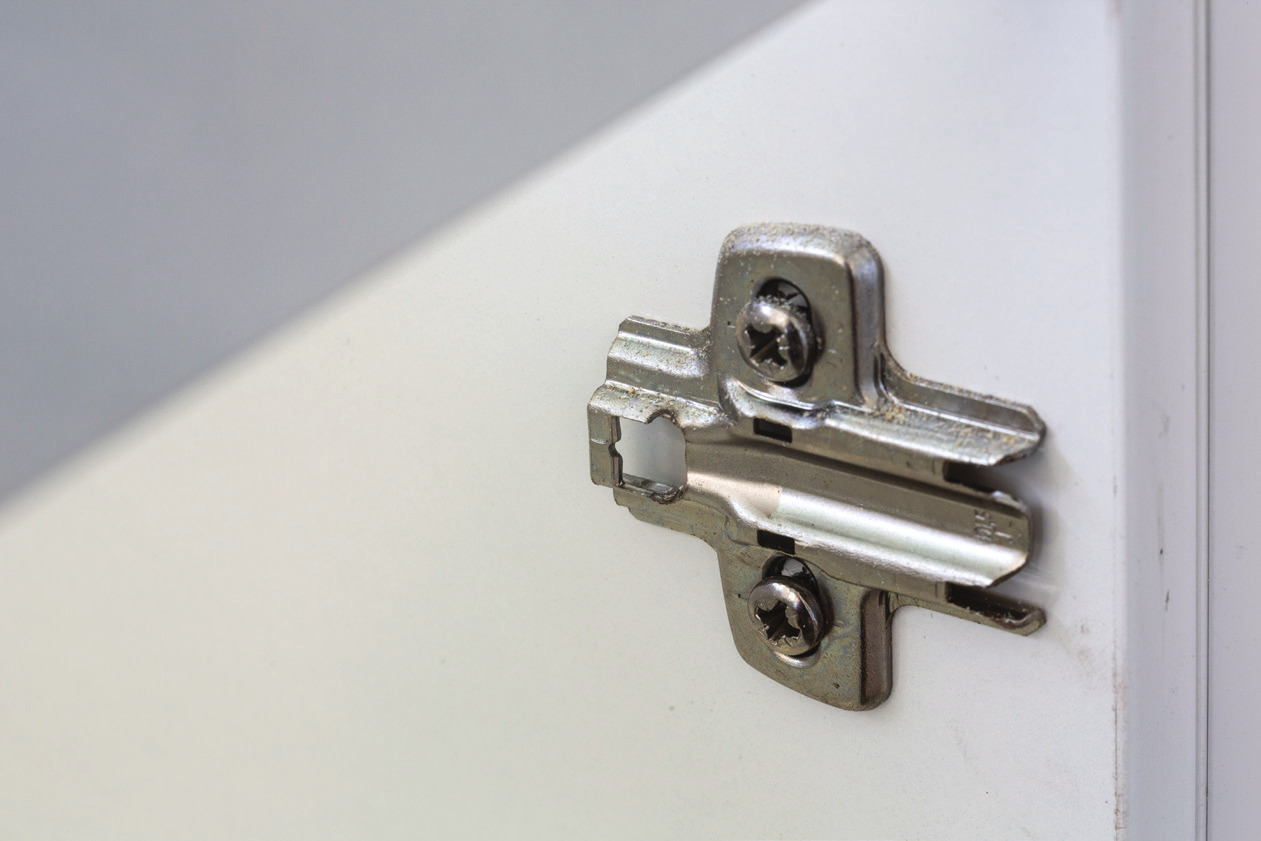
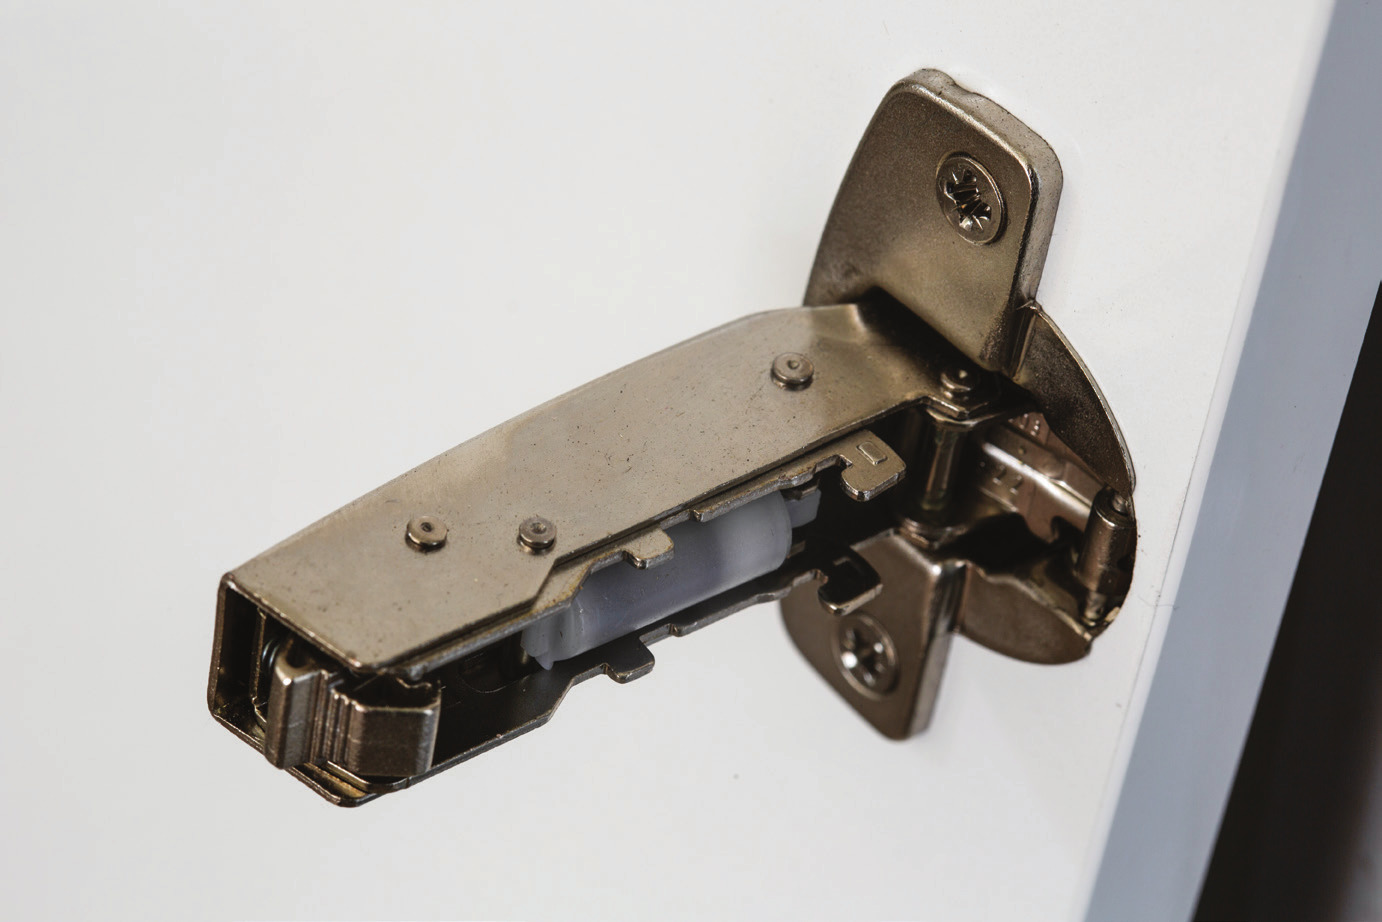
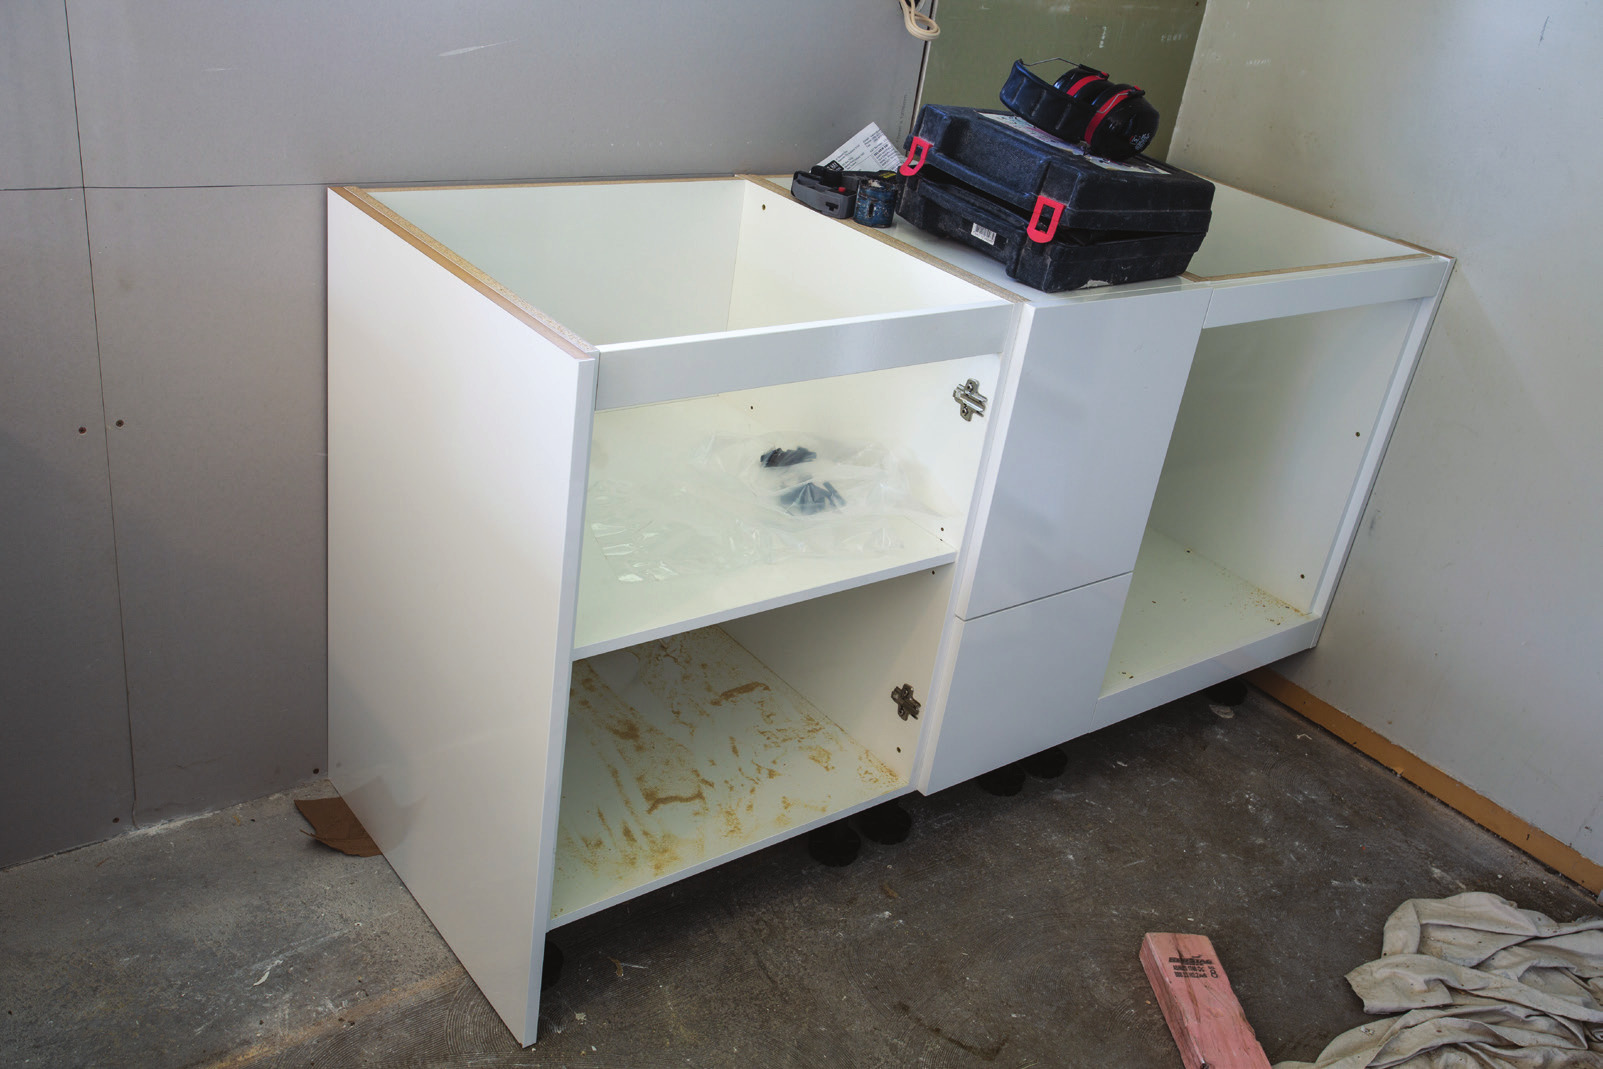
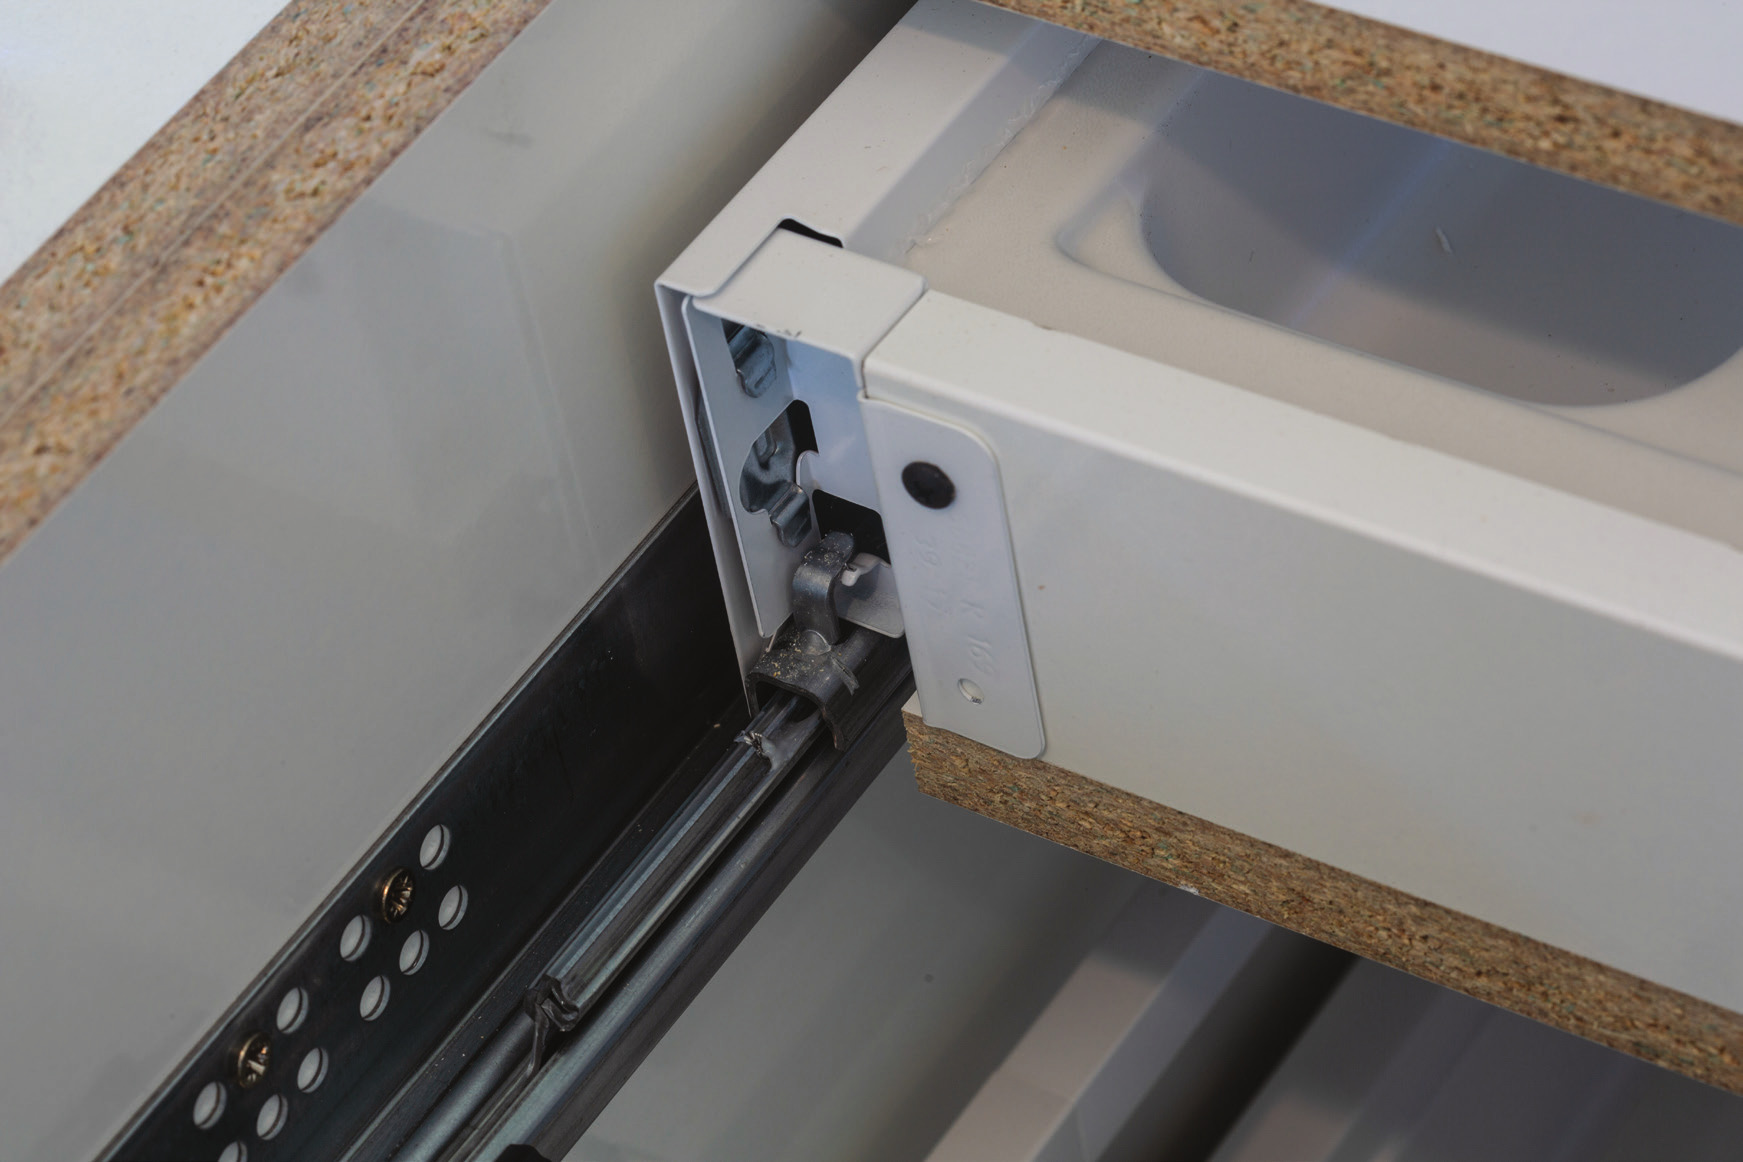
1-4: Flat-pack kitchens these days use robust hinges and MDF board for increased strength. Cabinet legs can be adjusted up to 10cm in height
Drawers
Drawers ain’t drawers anymore. Nowadays they are “systems” that integrate with other hardware like hinges and slides. Most modern drawers are made with manufactured sides of powder-coated steel that are screwed to the base and have the drawer front clipped on. Be aware that some drawer systems may be made of plastic. The powder-coated steel sides incorporate part of the slide mechanism. The systems allow for some adjustment to achieve that perfect fit. There are many styles and an equally wide variety of prices for drawers, that may be full extension, self-closing, or soft-closing.
These are the parts that get the most wear and are often the first to fail. It pays to invest in high-quality drawer hardware – it will keep paying for itself for decades. Poor-quality fittings will inevitably cause problems and regrets. It pays to get it right because retrofitting hardware such as drawer runners is difficult and “difficult” usually means expensive. Talk to your cabinetmaker and listen to their recommendations. They have to stake their reputation on your furniture and they don’t want it to fail. Drawers in kitchens especially often have to carry very heavy loads and that means they need slides that can bear that load.
A kitchen designer recommending some hardware might never have had to deal with opening up the packet and reading the instructions on how to install it. The installation can be tricky, so ensure you or your installer reads and re-reads the instructions.
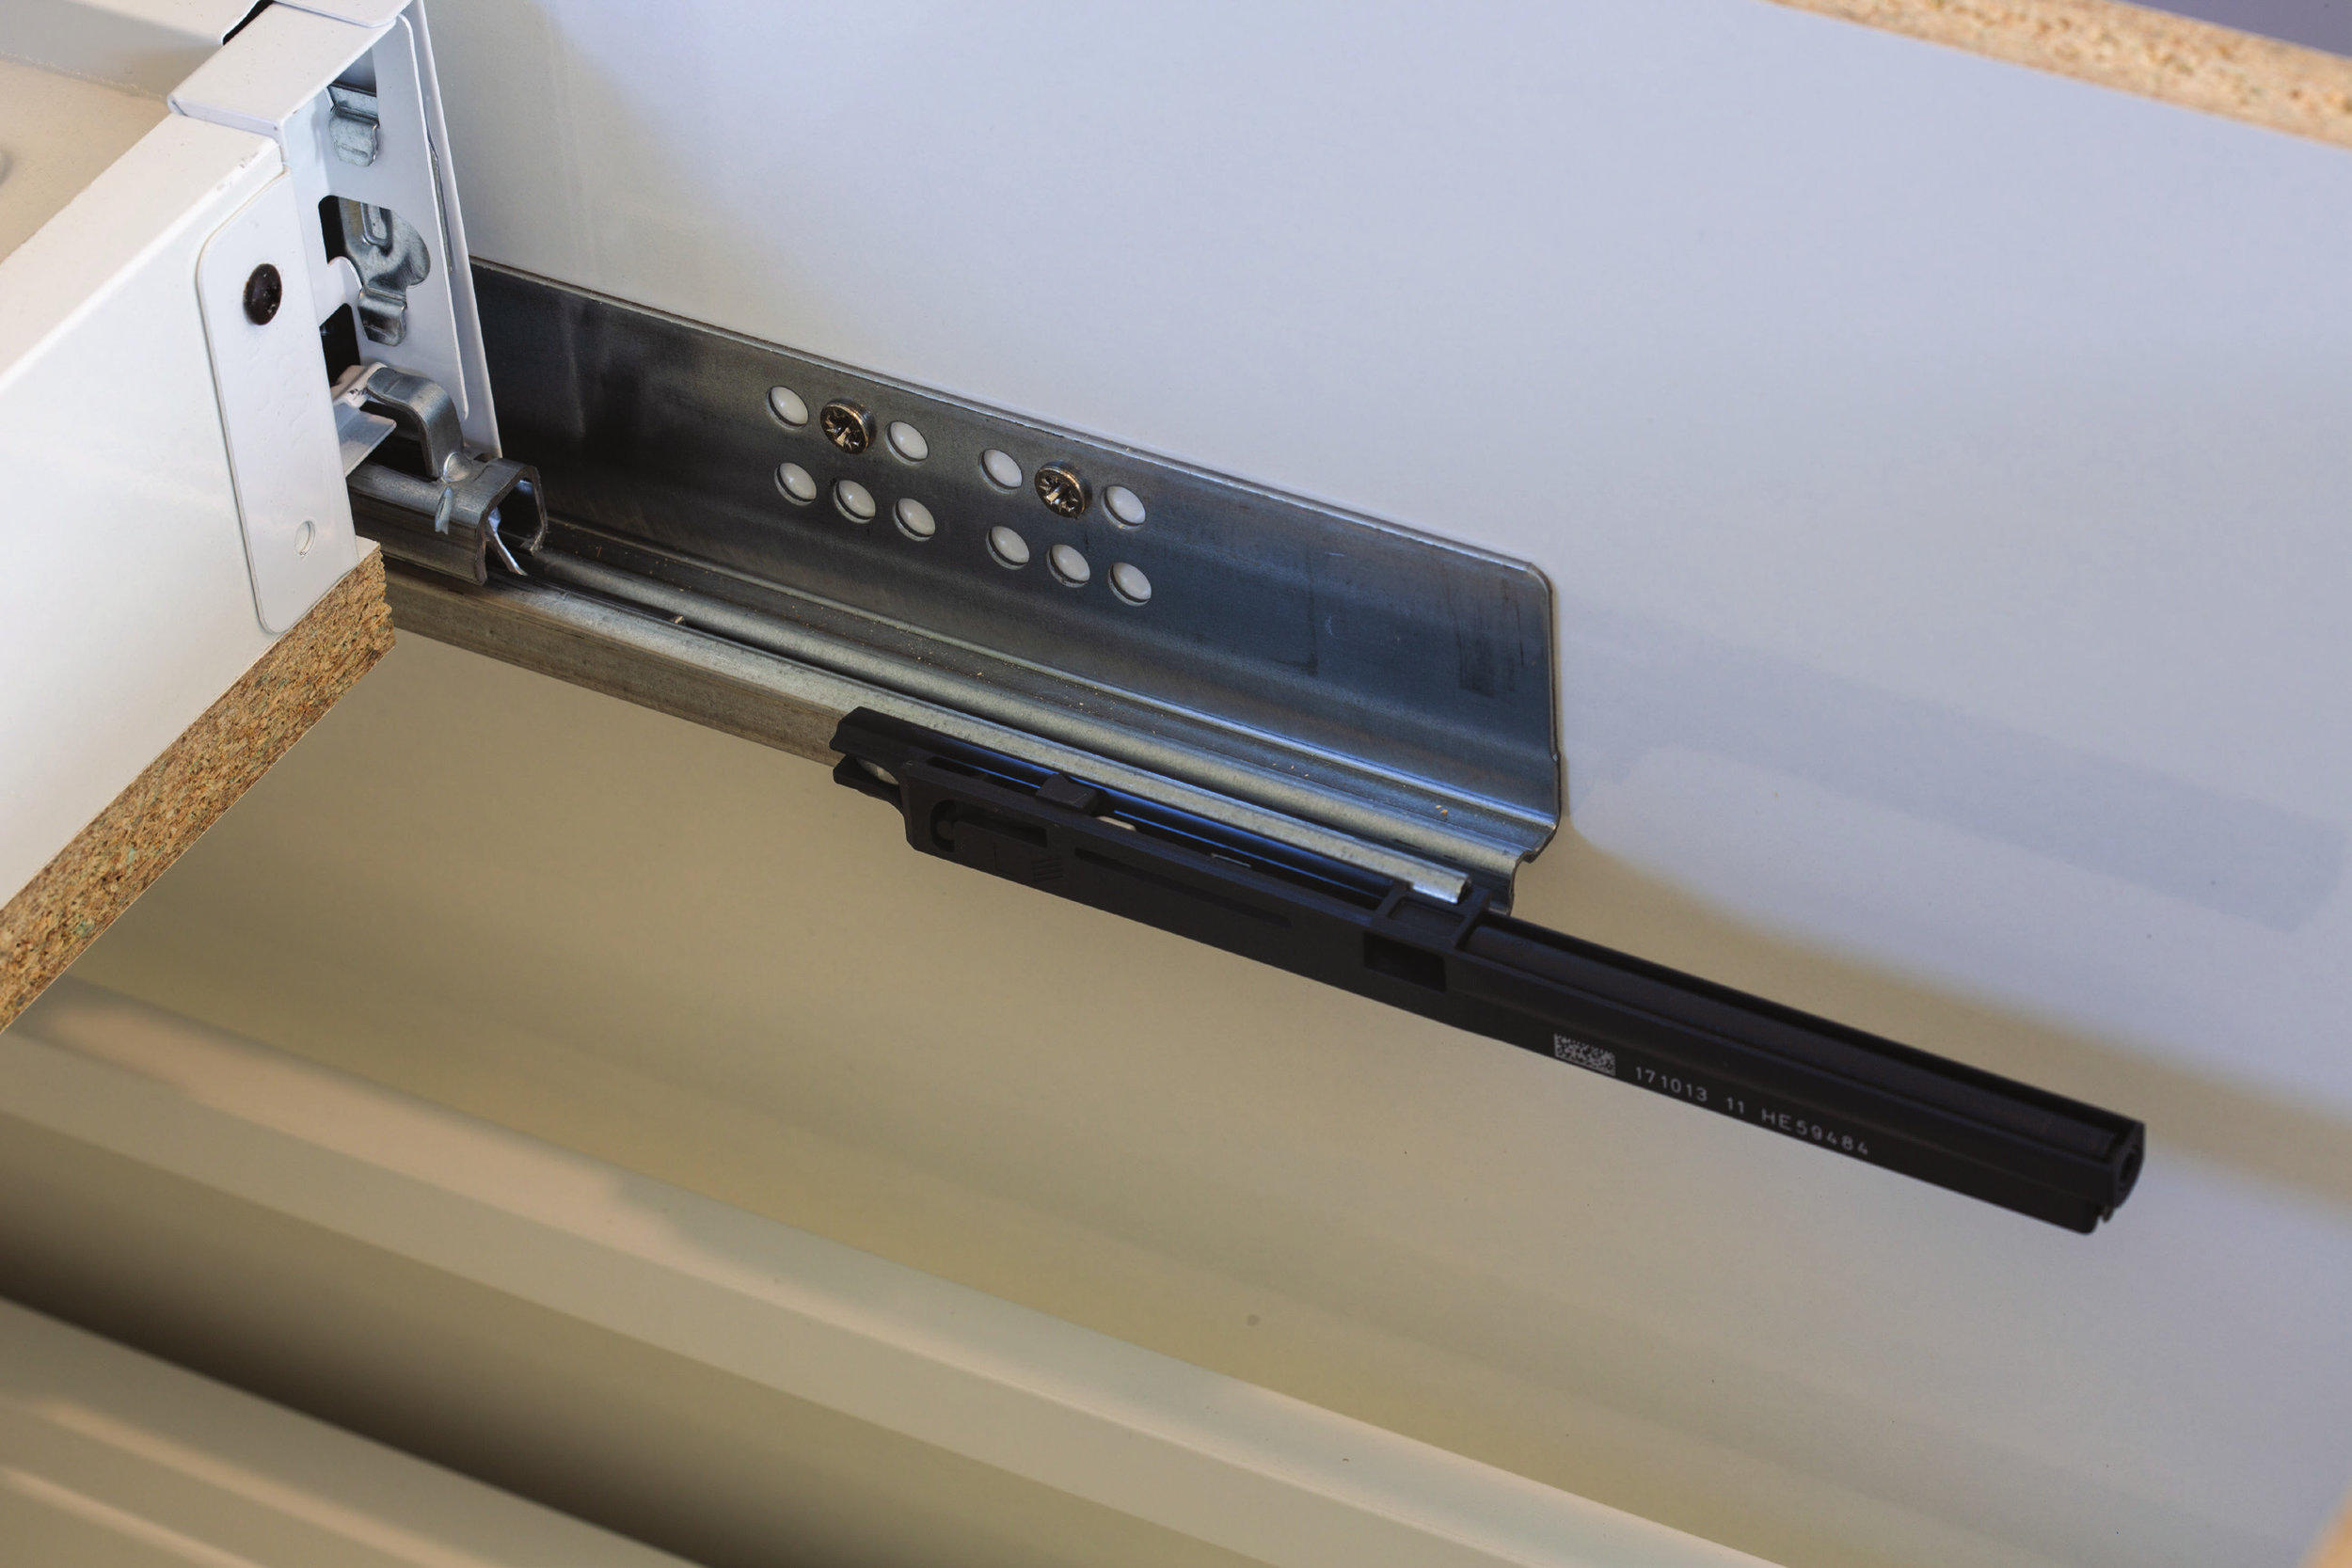
Soft-close drawers are now a common feature in modern kitchens. Ensuring straight lines when installing will keep the soft-close drawers on track. It pays to choose quality drawer runners
Stone tops
Stone tops such as granite, marble, and even polished concrete are very popular and they present another difficulty. It isn’t practical to scribe a granite top to size so these tops are usually measured by the stone suppliers and templates are created from plywood or thin MDF from which the final shape is cut.Stone benches represent planning problems of another kind too. The weight of a granite top must be considered in the design of the cabinets that will support it and they will frequently need reinforcing to prevent them from sagging or bowing under the weight.
Paint
While the kitchen is clear after all the holes are patched it can be a good idea to paint the walls and ceiling at this time. It will be more difficult to do so after everything is installed. It’s worth considering one or other of the specialist kitchen paints too. Resene has a paint that contains silver ions, which have natural antibiotic properties, and keep surfaces free of mould and odour-causing bacteria, particularly in damp or humid areas.
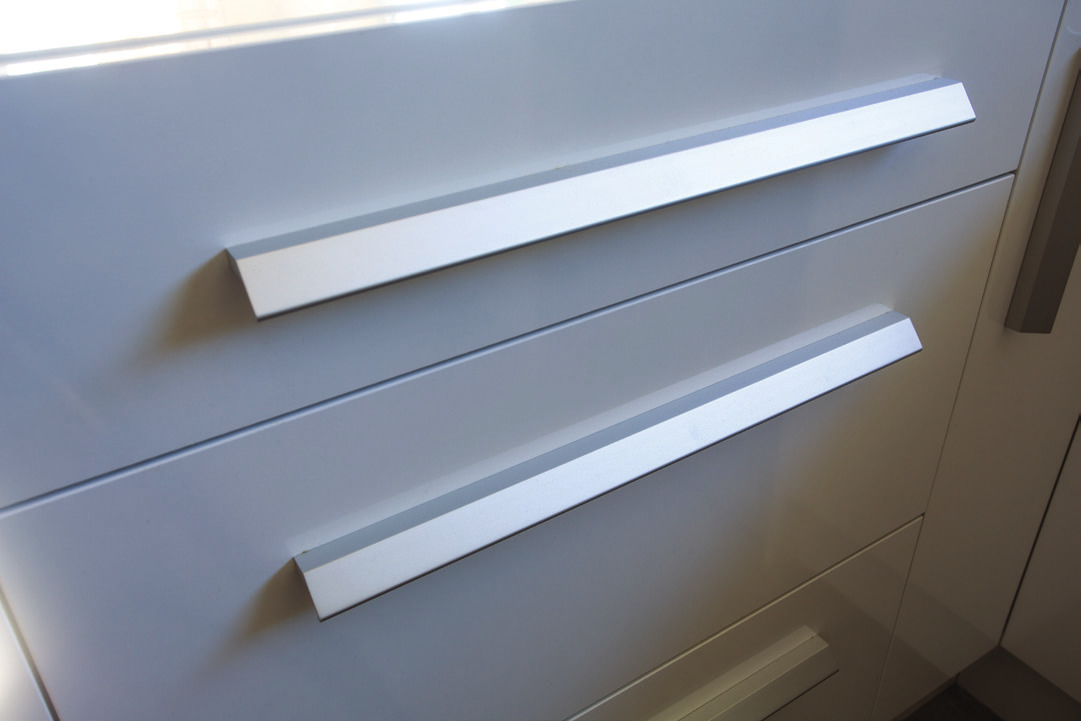
The flat-pack manufacturer will offer a wide array of handles and cabinetry finishing to suit each customer’s personal preference
Assembly
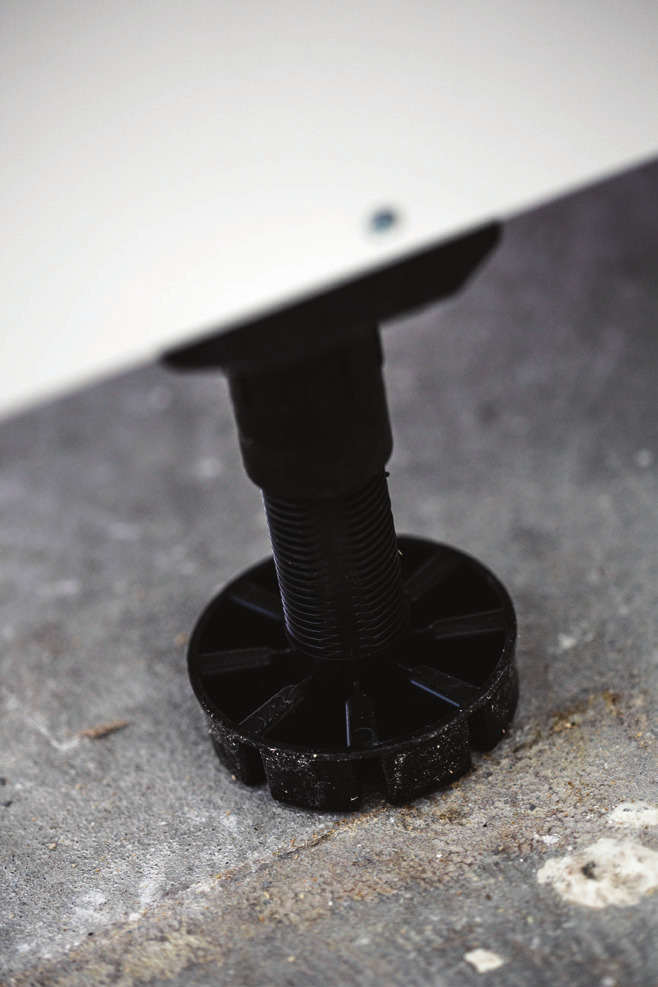
The cabinets are screwed and glued together. The design allows for the various components to slot together with mortise and tenons cut into the edges to add rigidity to the pieces. Cabinets that are butt-joined (simply attached end to side) can have more play, especially as the pieces move over time and shift out of alignment. The drawers are assembled and fitted to the cabinets and the kitchen begins to take shape. The cabinets are finished with adjustable feet that keep them off the floor and allow the tops to be levelled, taking up any variations in floor level.
On site
There is constant checking of measurements against the plan and getting the cabinets and assembly level (the legs can be adjusted up or down by up to 10mm). If the measurements and checking for level and square are not correct at the beginning then nothing else that follows will ever be level or sit/fit properly. The floor will be laid up to the legs and then kickboards put in front of the cabinets to hide the legs. The ready-assembled cabinets are easy to work with compared to the days when cabinetmakers had to build the plinths, the cabinets, cut them to fit, and ended with panels that had to be scribed all around. Now of course, people can get the look they want cut to their specifications, with panels, handles, and cabinet fronts which can be varied in colour and style.
The cabinets are clamped to hold them in place while fitting them tightly with screws where they are less likely to be seen. A temporary brace holds two of the cabinets steady where the sink goes until the installer has screwed the backs into studs in the wall. The basic height of a working kitchen bench is 890-900mm. Measurements that need to be allowed for when judging the height include 10mm for tiles, and 5mm for an underlay. With a cabinet near a power point or a cupboard door opening toward the wall, there will need to be some packing to allow for the door opening.The bench tops themselves are joined with special toggles and have the holes cut out of the supporting substrate to accommodate these.
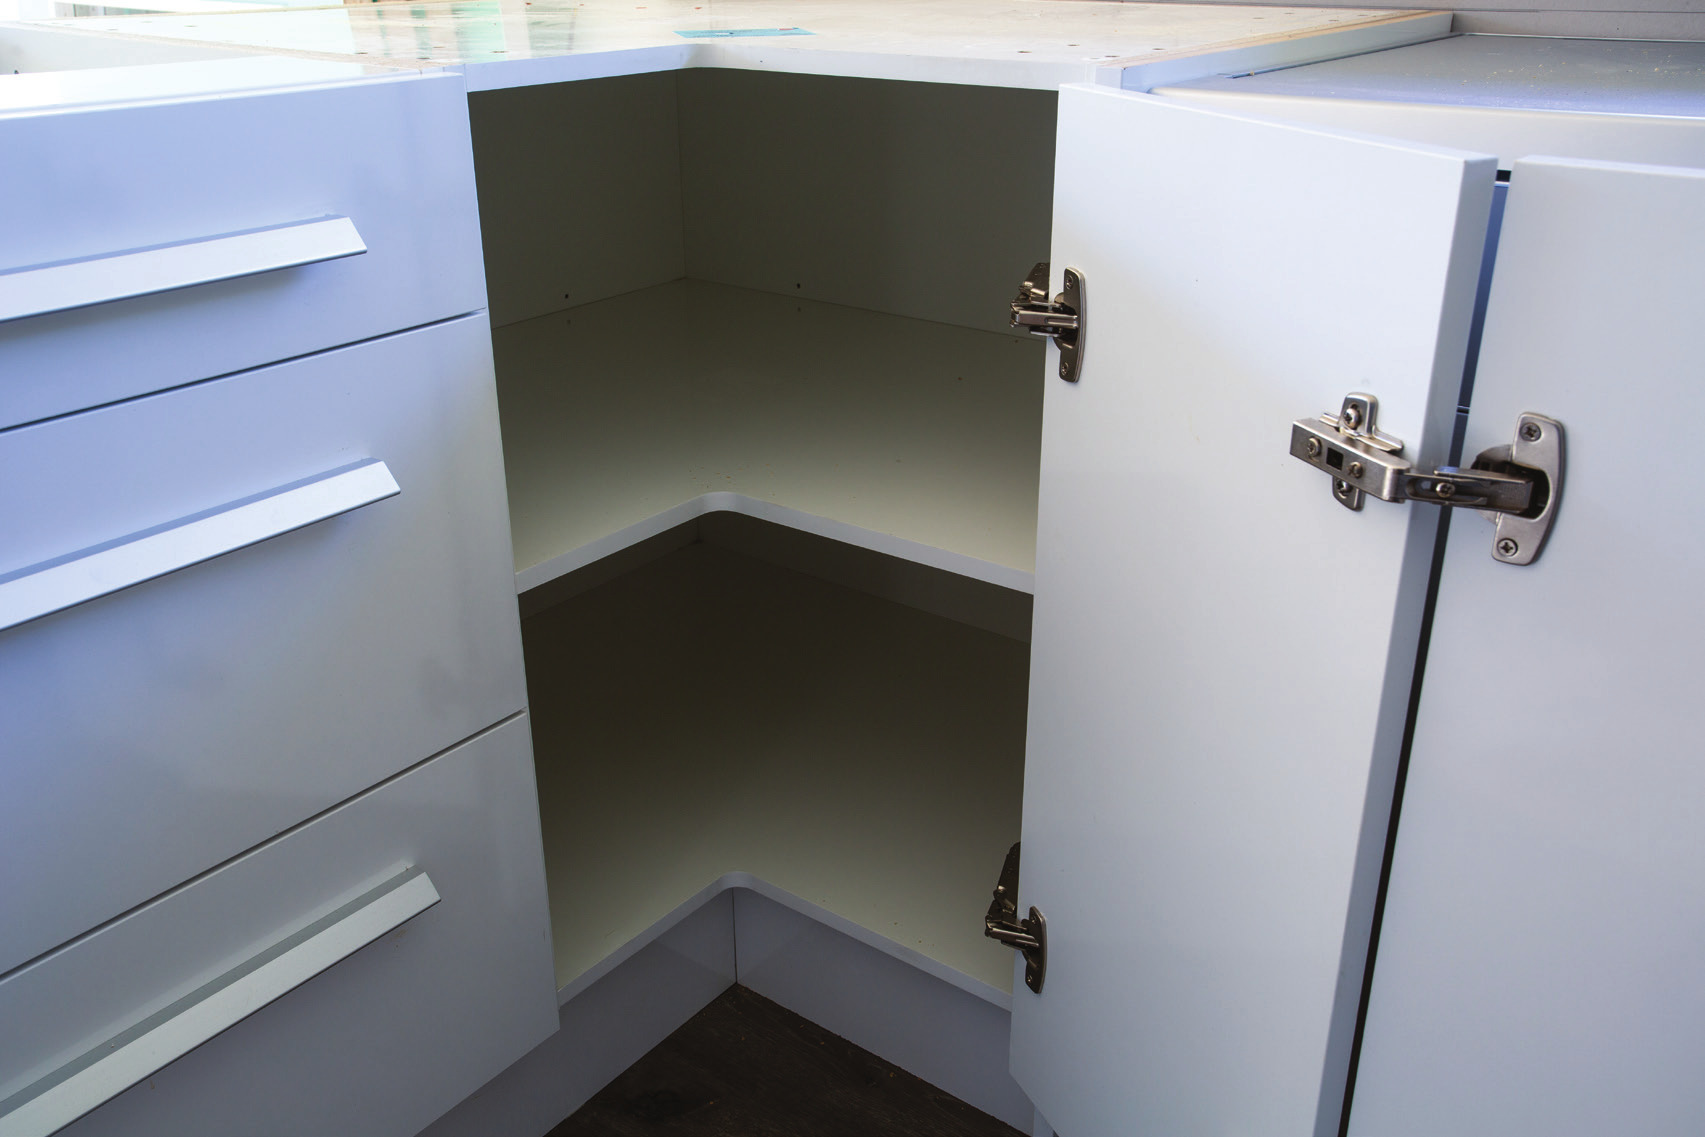
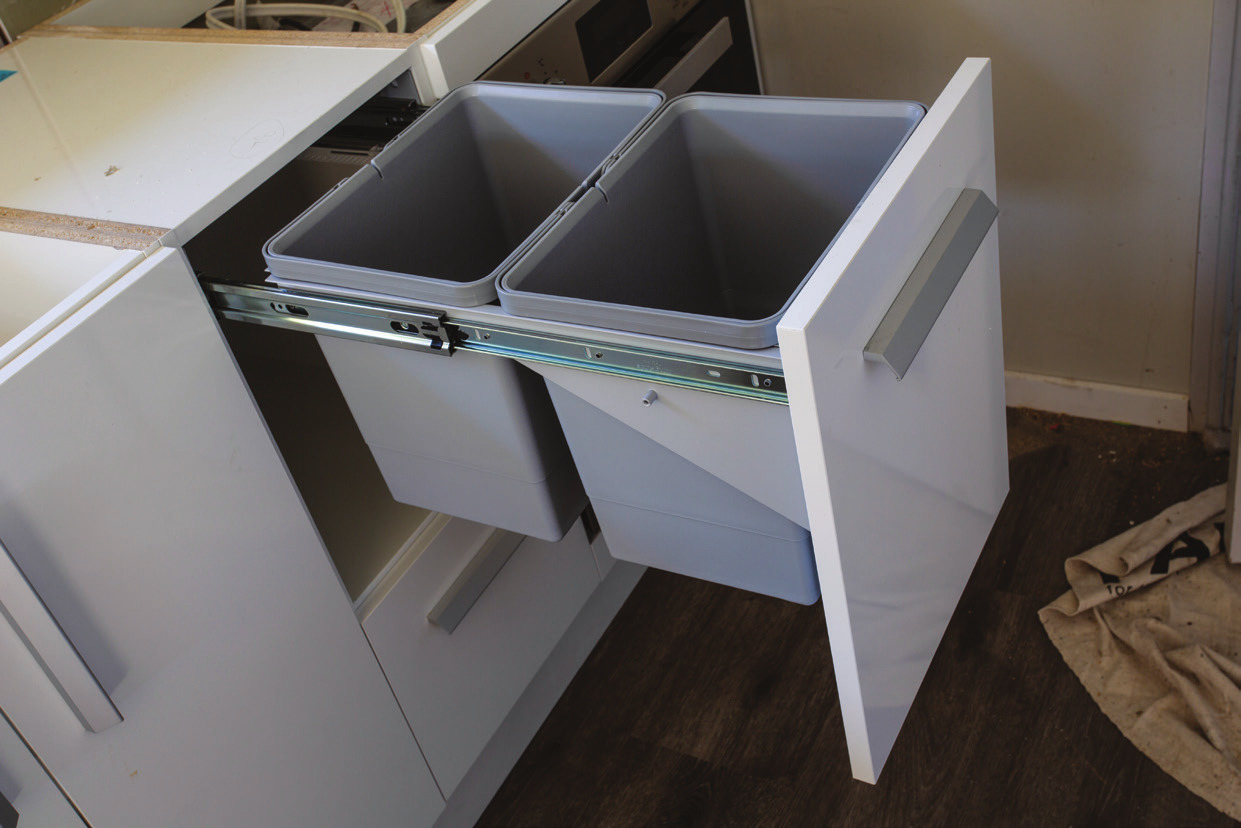
3: You can never have too much easily accessible storage in a kitchen
Good planning makes perfect kitchens
Early planning ensures the homeowners decide on a single, one-and-a-half or two-bowl sink, and for the hob. Provision for the plumbing in one case and wiring in the other is built in before the bench is finally in place.
Once the bench is installed the electrician installs the hob, oven, and the extractor. The plumber reconnects the sink and dishwasher. If people install their dishwasher themselves rather than a plumber, one of the aspects to remember is the heat shield on the underside of the bench above the dishwasher. Steam coming up from the opened door can affect the material in the bench.One of the last elements to go into a new kitchen is the splashback where the colour adds a highlight to the kitchen scheme.
It’s important not to forget to notify the insurance company for an existing house insurance that work is being done on the house so that “contract insurance” can cover any damage during the renovations. Also ensure any tradesmen coming and going in the house use proper coverings and protection.
While standard sizes are allowed for, you’ll want to make sure that your appliances will t into the spaces allowed for by the kitchen manufacturer and that they’ll have adequate ventilation. If purchasing new appliances, check the specifications and dimensions against your kitchen plans.
Kitchen install tips and tricks:
We have collected some basic tips for people wanting to renovate their kitchen or build a new one.
1. Plan, plan, and then plan some more: Consider what appliances you want and their size. Do you want a wall oven or a free-standing one, a double fridge or a single, a single- or two-bowl sink? What about bench top material? What type of hob do you want/need and how it will be powered?
2. Budget: Be realistic. If you have a modest budget, stick to that. Know what is affordable for what you have.
3. Space: Work out your plans with a sketch. Does it include a dining area? For flow and storage, is it a walk- through kitchen? What views do you want from your workspace? What storage do you need?
4. Choices: Things you need to decide on include flooring, wall coverings, colours, cooktop, splashback, tiles, window dressings, sink style, cabinets, handles, lighting, and bench finish.
5. Management: Work out how to manage during the building phase. Expect at least a week without a kitchen.
6. Tolerances: Allow tolerances for the standard units. There may be a need for filler panels between some of the units. These will not look out of place, but you’re better off allowing a bit more room than having it too tight.
7. Surfaces: Make sure all of your surfaces are in the right place for what they’ll be used for. Think about meal prep, dry spaces, wet use, ‘hang out’ areas. Ensure there is power where you’ll need it for toasters, coffee makers, slow cookers, and the like.
8. Levels: All soft-close drawers and cupboards will not close properly if the levels aren’t correct. Ensure your levels are true before installing your units.
9. High units: Get rid of high units when possible. Instead, do full wall units from floor to ceiling or have nothing at all when possible.
10. Touch to open: These units are the trend currently. Be aware that they are very sensitive and most light brushes will open them.
11. Colour scheme: You’ll seldom go wrong with white on white in the kitchen.
12. Engineered stone: This will be cheaper than granite. Colouring is also often more uniform, with more colour options available.
13. Production line: Kitchens from Peter Hay Kitchens are built on a production line in Auckland. Most kitchens (90 per cent) will be able to work around these standard units, only sometimes requiring some packing out to ensure a good fit into the space available.
14. Breakfast bar: When building a breakfast bar, avoid an overhang of any less than 280mm, otherwise you’ll likely find little room for your legs and feet under the bar.
15. Windows: Don’t forget to factor in where your windows are and optimize placement of units for sun and light. Over the sink is best and other light sources are worth considering for cooking, access, and general use of the space.
16. Vacuum warning: Do not let the builder use your vacuum cleaner. Building dust and debris can ruin a domestic vacuum cleaner. A builder’s industrial- strength machine is needed to clean up.
Thanks
Thanks to Gary Hatfield of Home Skills (homeskills.co.nz) and Peter Hay Kitchens (peterhay.co.nz) as well as the home owners for letting us into their home to follow this installation.